ART-1280-501-Summer 2026
Creative Project 01 – From New to Old
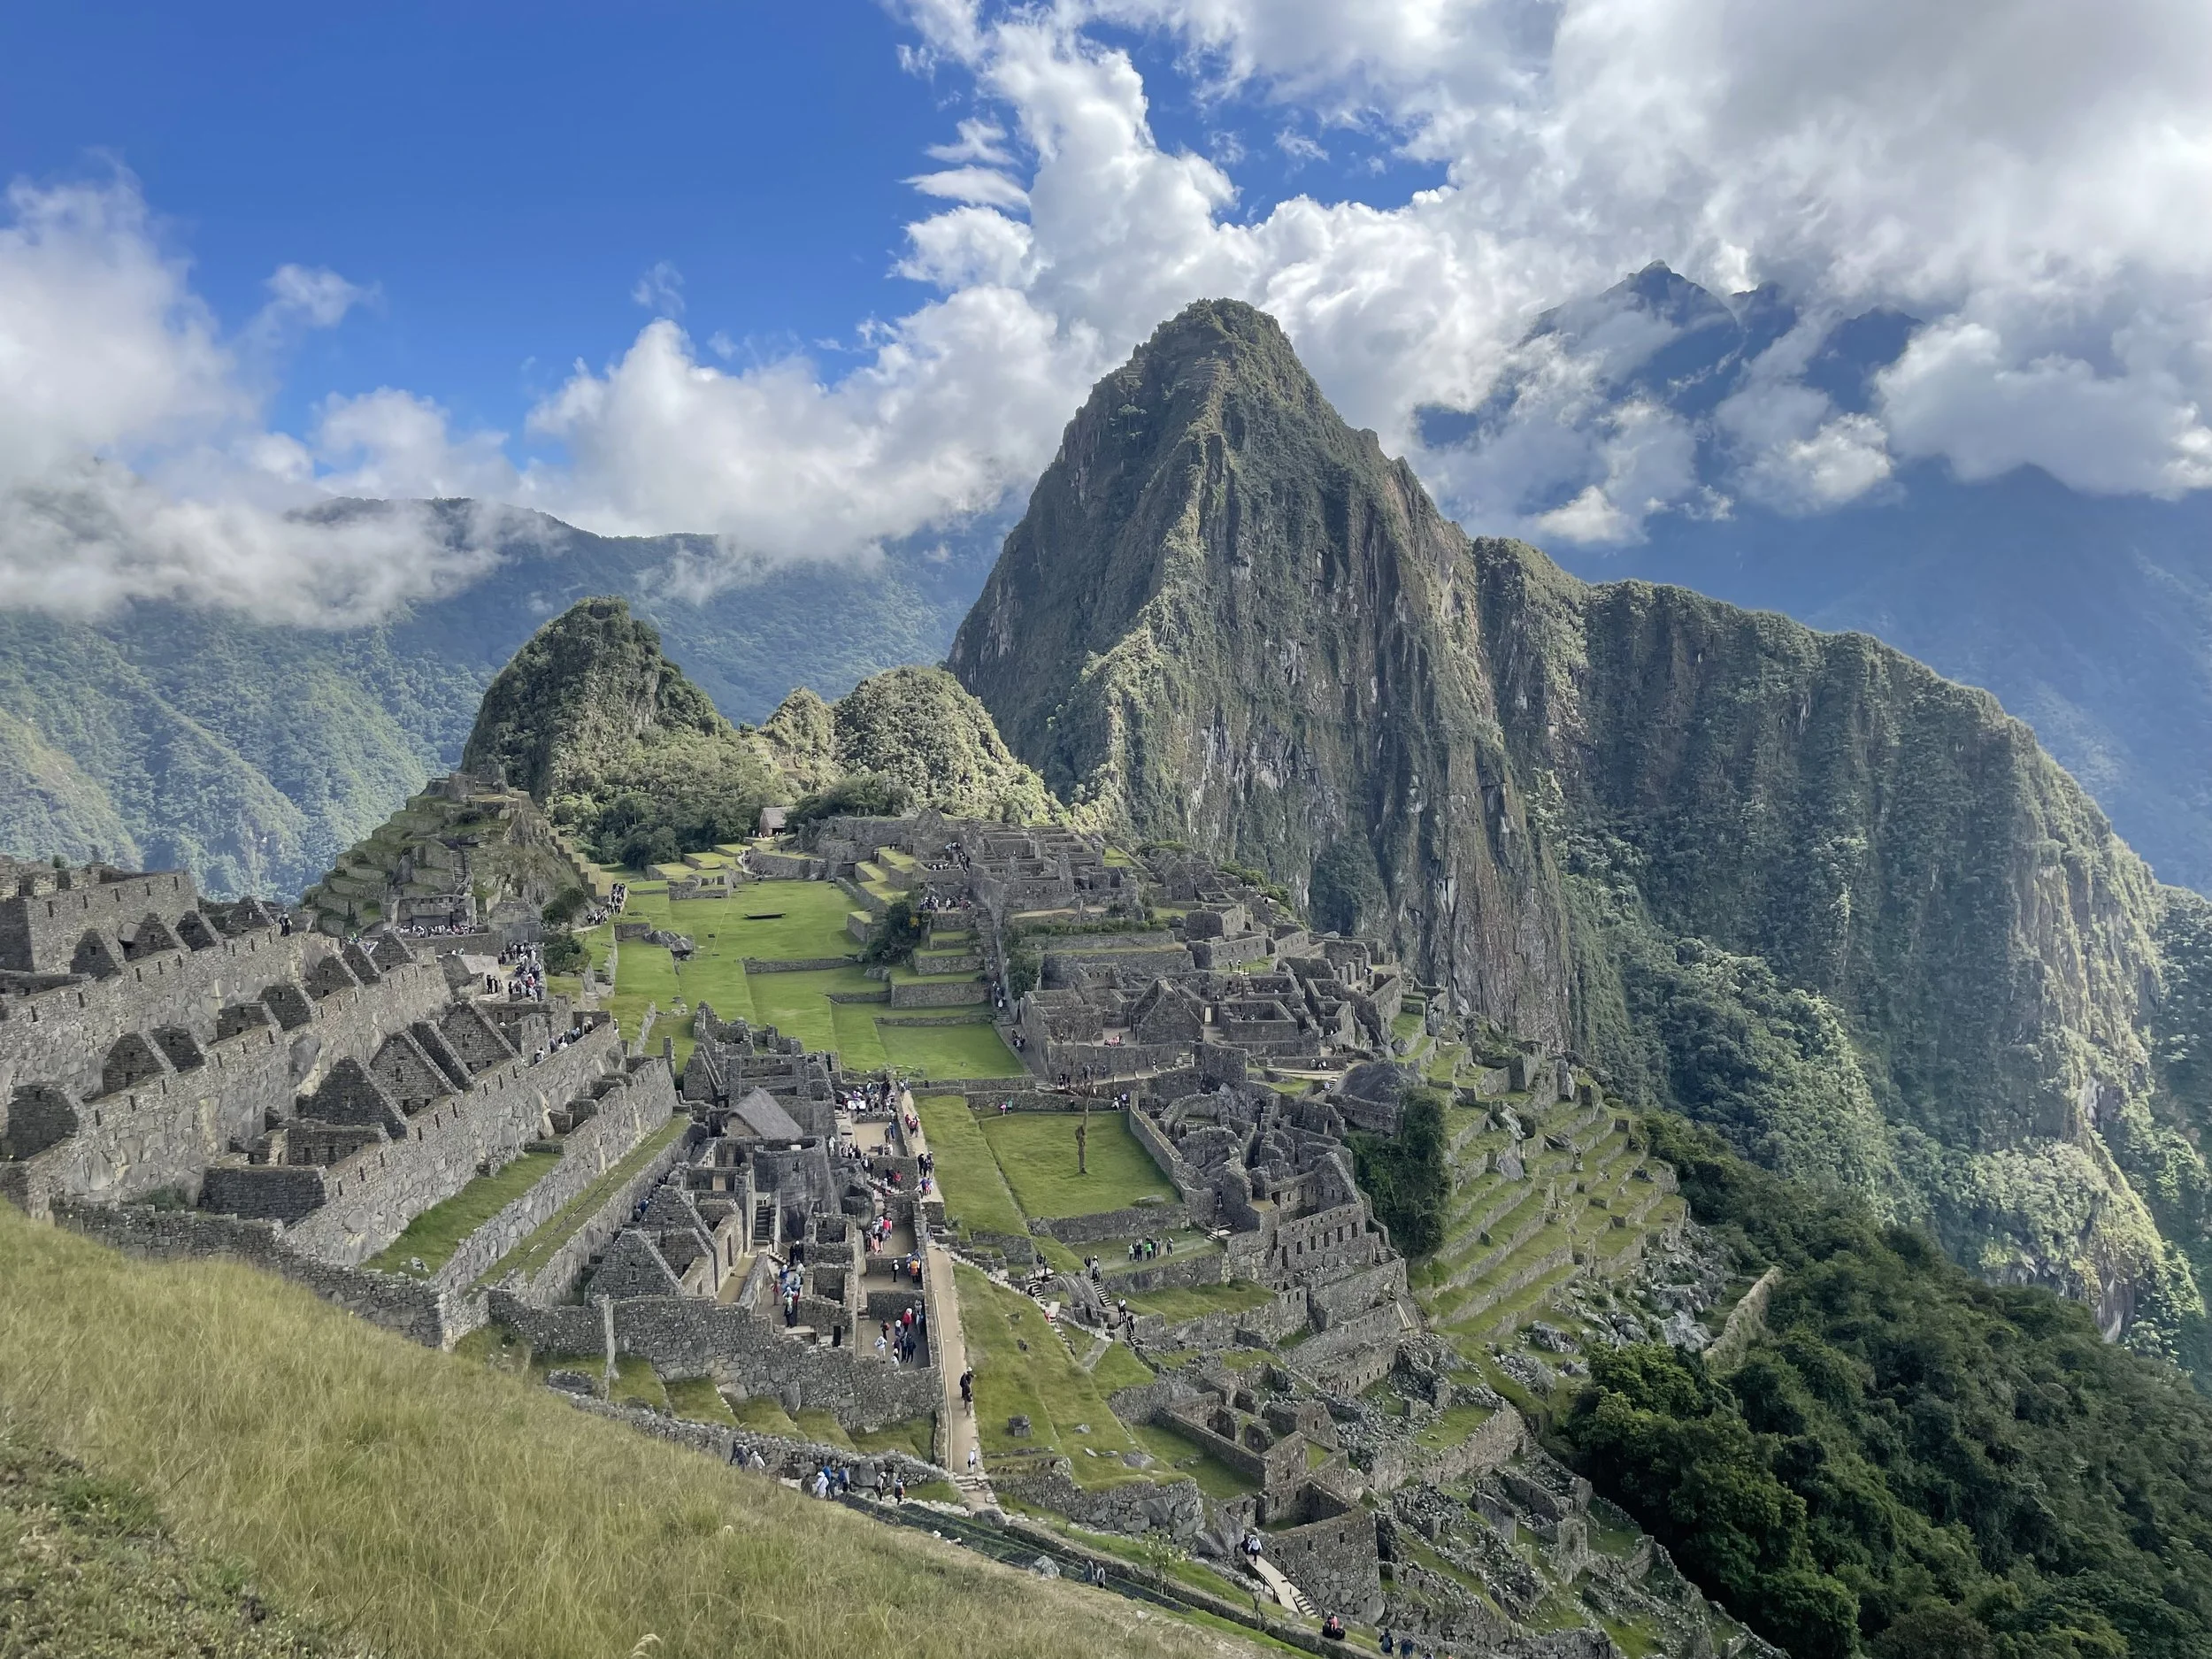
Original
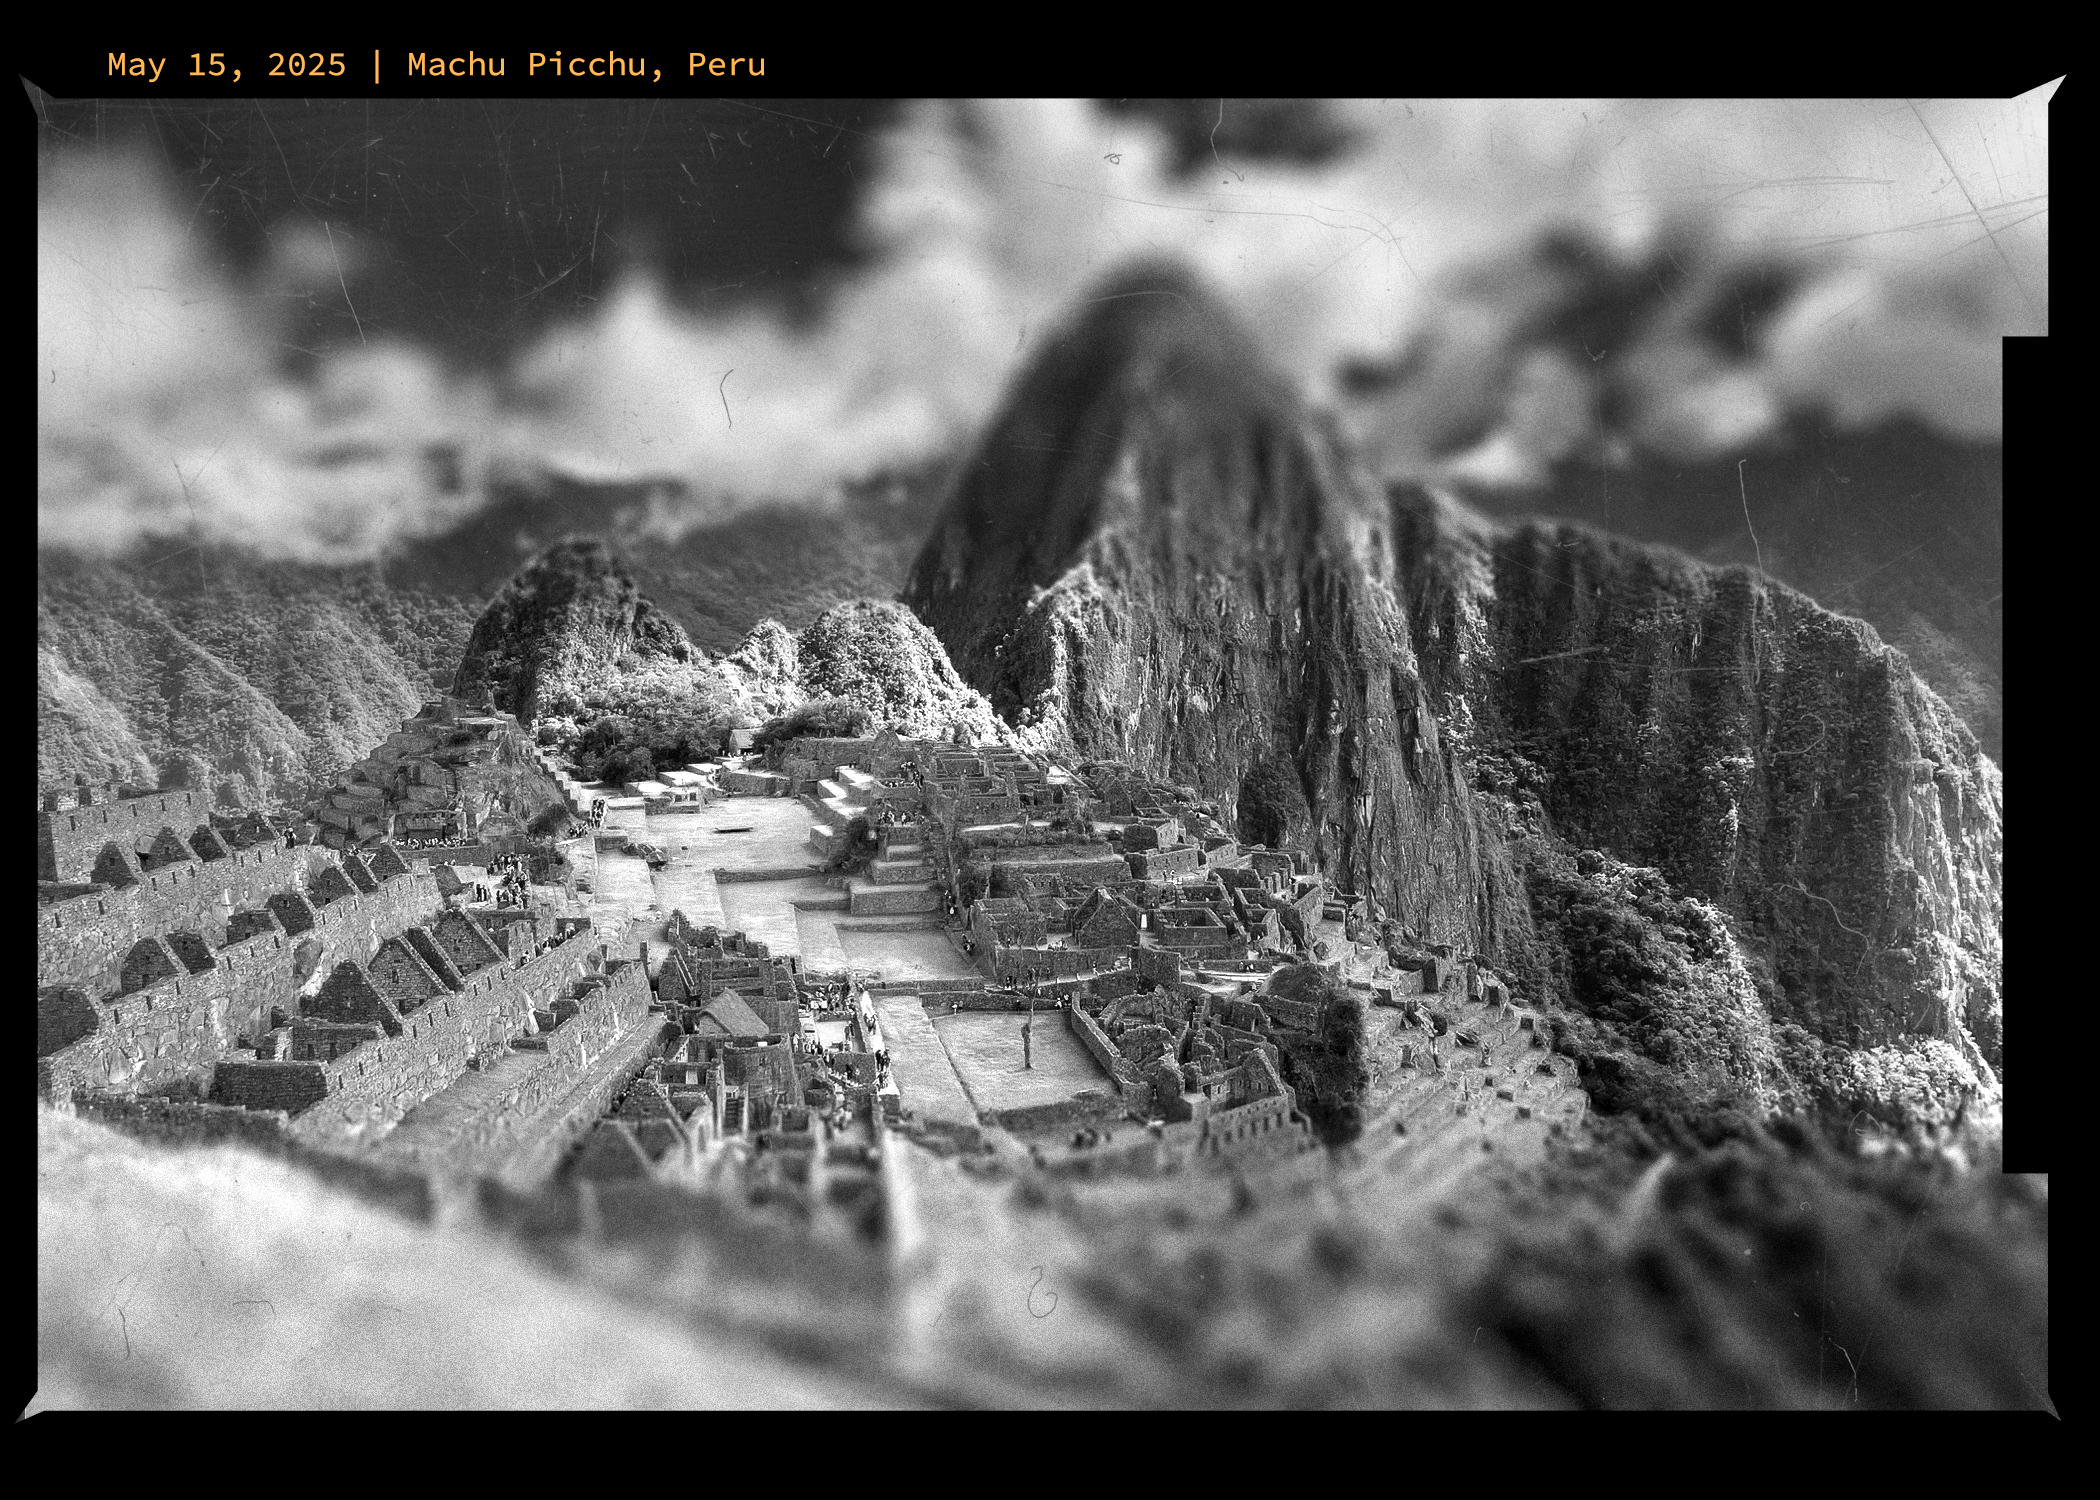
When I traveled to Peru last year I deeply regretted not taking my camera. I figured lugging it around wouldn’t be very fun and I like to travel light. So for this assignment I wanted to pretend that I had dragged a large format camera all over Peru and taken a large format photo of Machu Picchu instead of relying on my phone camera.
First I opened the original image in photoshop and set the correct size and color mode. Then I watched some tutorials on how to create this effect. There are a lot of ways to go about this and my method used a little bit from various sources.
To recreate the Scheimpflug Principle, I used the tilt-shift blur filter after I duplicated the background and converted it to a smart object to work non-destructively. Since large format cameras have a big lens, there is very little chromatic aberration. I used the Camera Raw Filter to dehaze and add clarity. I also enhanced details by sharpening. I added a film grain filter at a low intensity to mimic the grain on a negative.
Then it was ready to get the Ansel Adams treatment. I added a black and white filter layer and used the high contrast red filter as a starting point to refine a custom filter. I added a contrast curve to deepen the darks and lights and add more detail.
I wanted to mimic the Silver Halide film grain. I added a blank layer on top and filled it with 50% gray with an Overlay blending mode. I added a touch of monochromatic noise and a faint gaussian blur. I added a dodge and burn layer with the same 50% gray, but with a Soft Light blending mode and then worked on dodging and burning areas to refine the darks and lights.
Then I brought in my second image, which was a scratched up negative texture that I found online. I placed it on top of my stack and found that the exclusion blending mode was the most realistic effect.
Finally, I wanted to create the illusion of a large format film frame. I traced an example with the lasso tool and filled the selection black and deleted it. Then I added the date and location in a similar font to mimic the text on film frames,
Creative Project 02 – Painted Image or Portrait
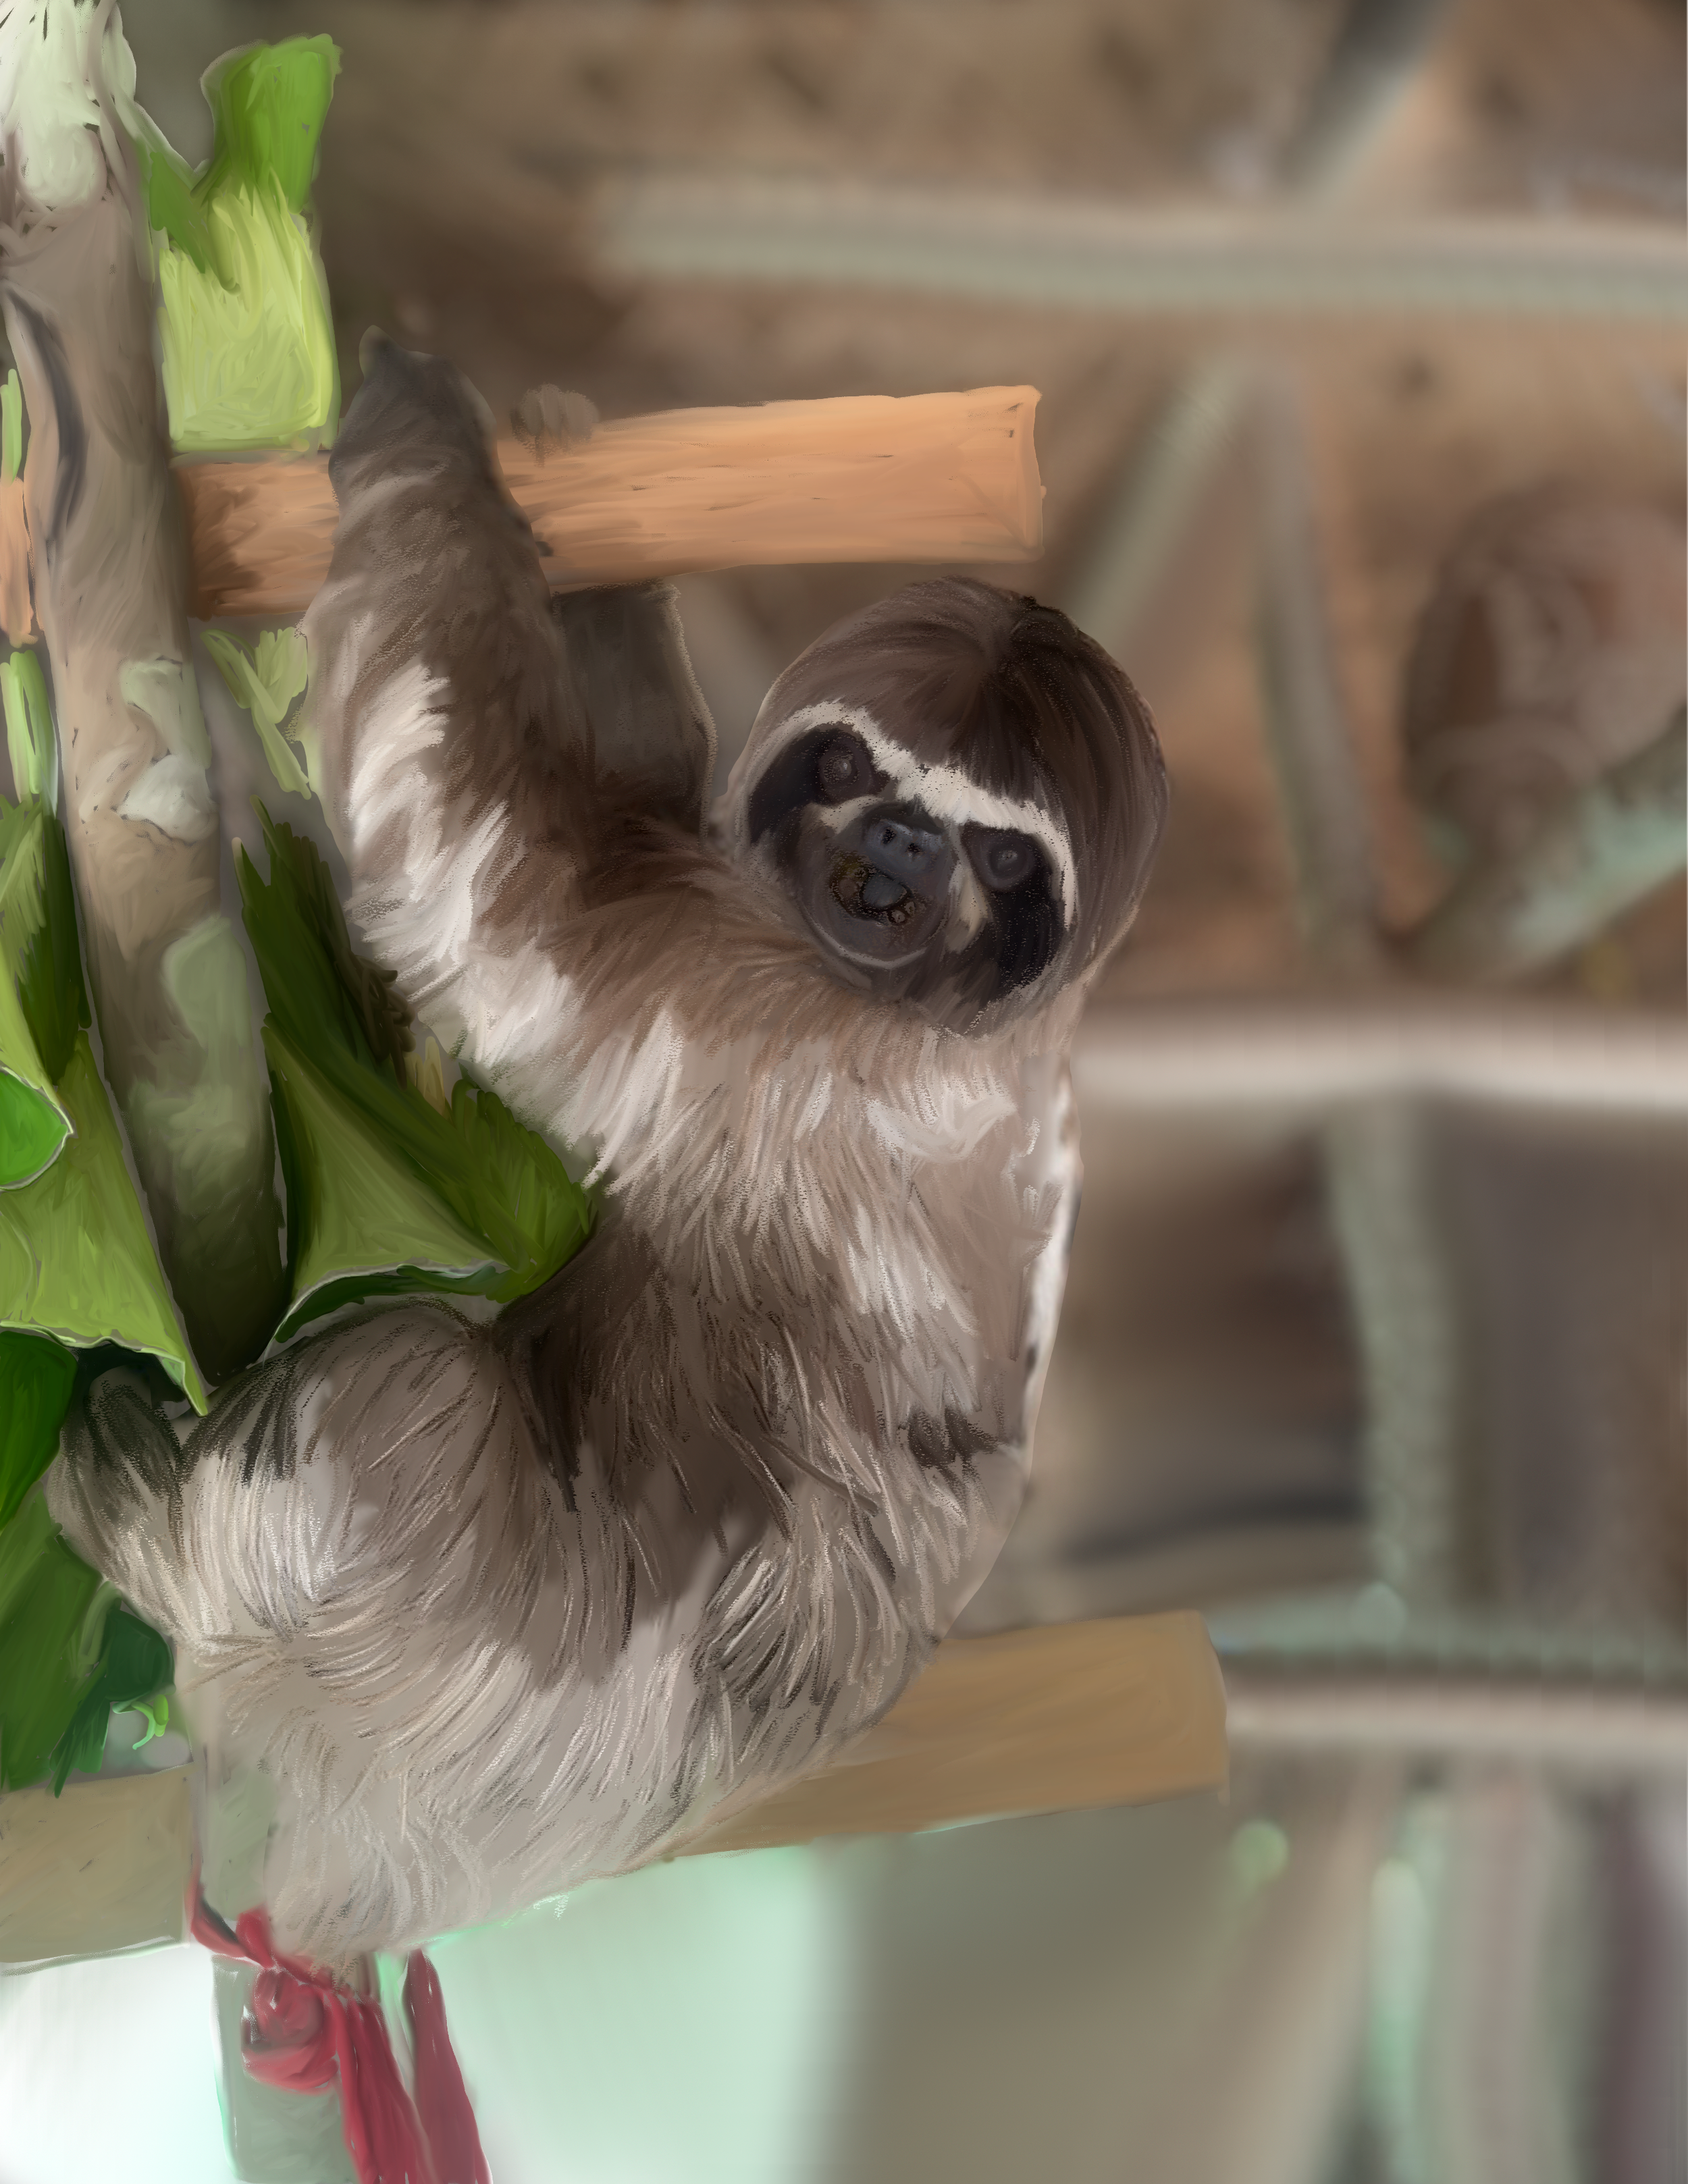
For this project I selected a photograph I took in Peru of a domesticated baby sloth. I chose this image because sloths are cute and also because the image has lots of textures and layers to work with. The background is blurry and the sloth’s fur is very sharp with other elements in the scene offering opportunities to experiment with different texture brushes.
I used my iPad as a stylus by mirroring my desktop screen. That allowed me to use pressure to create even more textures. For the background I used large, soft brushes to mimic the blurriness. I used two different layers of background, one for the basic shapes, and one, with smaller, still soft but less soft brushes for the details.
Then I made a layer for the sloth's back arm so that it would cleanly set behind the structure she is hanging on. Then I made a layer for the structure. I used a clean, wet oil brush for these foreground elements to make a harder edge with blended colors to contrast with the soft background.
Then I made a layer for the sloth's basic shape. I just made a nice, goopy base to visually come forward in space. I used medium sized oil paint brushes and allowed it to be messy and bold. Next I made a layer for the leaves and used a fine, goopy oil brush. The leaves had a lot of detail, but are not the subject, so I kept the lines a little more blended.
Finally, I made a layer for the sloth’s details. I used a very fine, hard brush to make the marking on her face and bring out the details of her eyes and smile. Then I selected the Real Oils Brush, which looks more like charcoal to me, with a very fine tip to draw all of the coarse light hairs to mimic the fur texture.
It still looked a little flat, so I made the first background layer 50% transparent. Then I added a mask with a painted gradient using a large, soft brush so the original image could peak through a bit. I made it a smart object so I could use a non-destructive adjustment filter to darken the background so the foreground would have a little more pop.
Creative Project 03 – Image Restoration
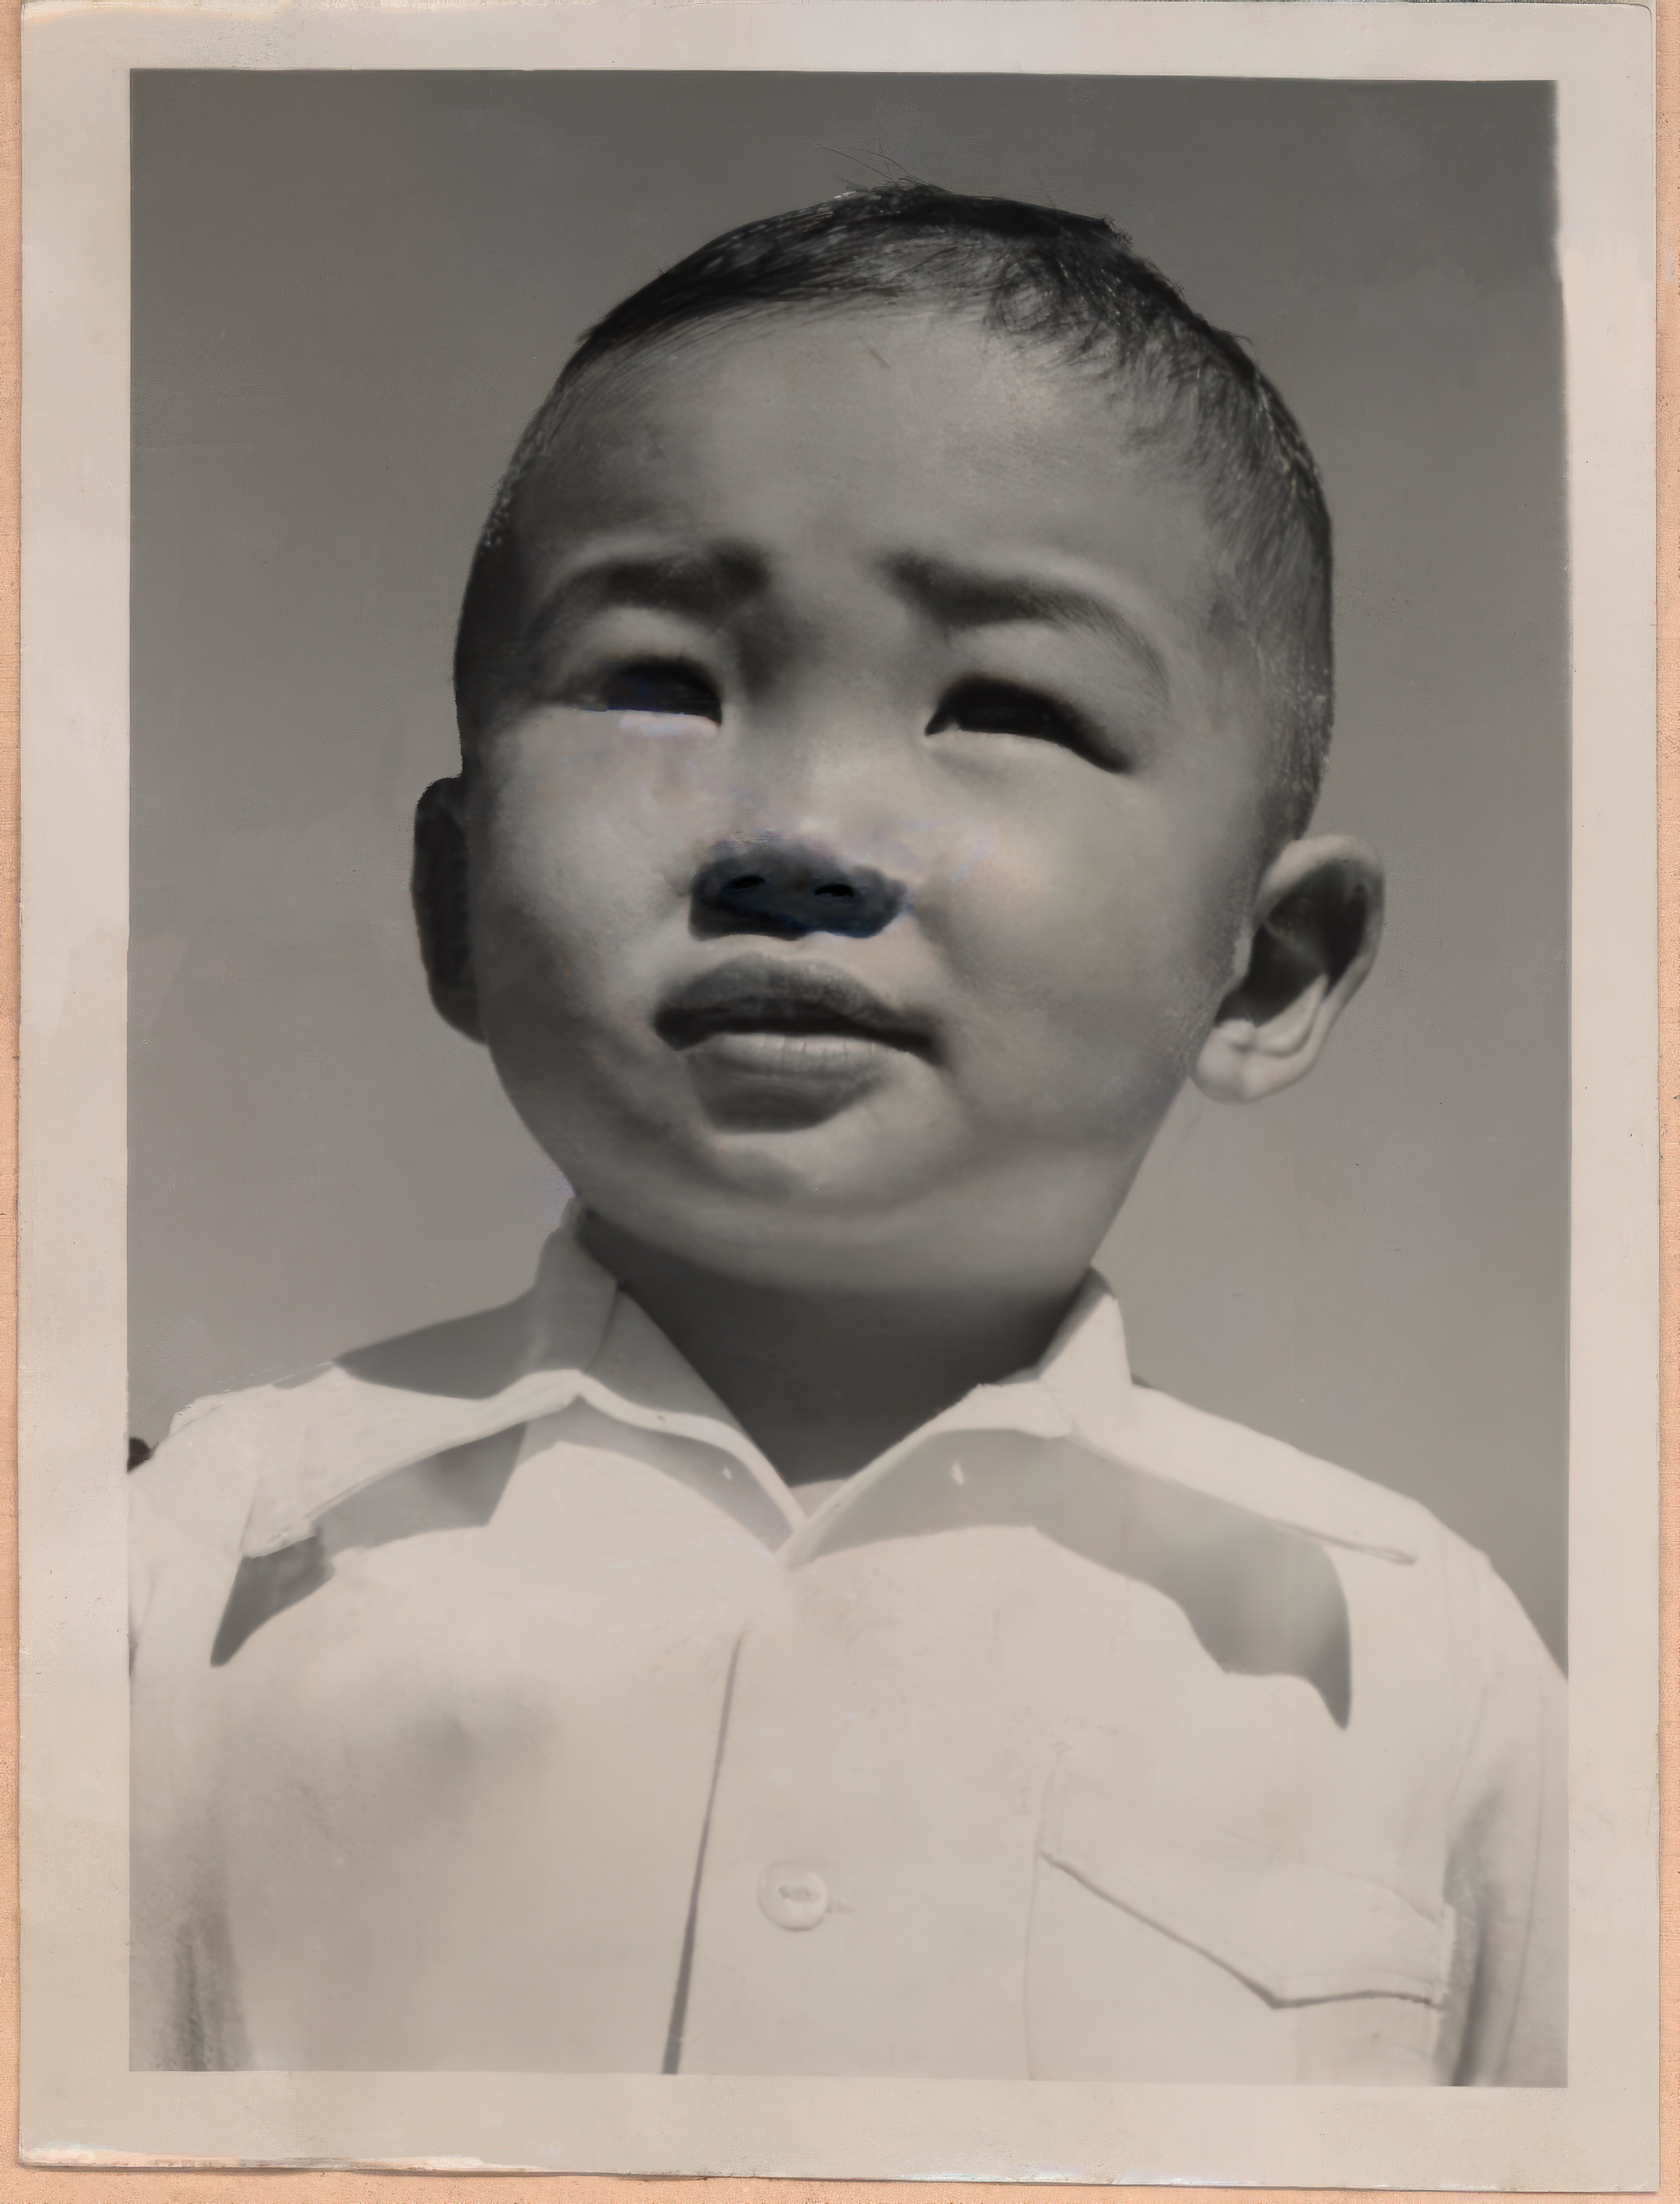
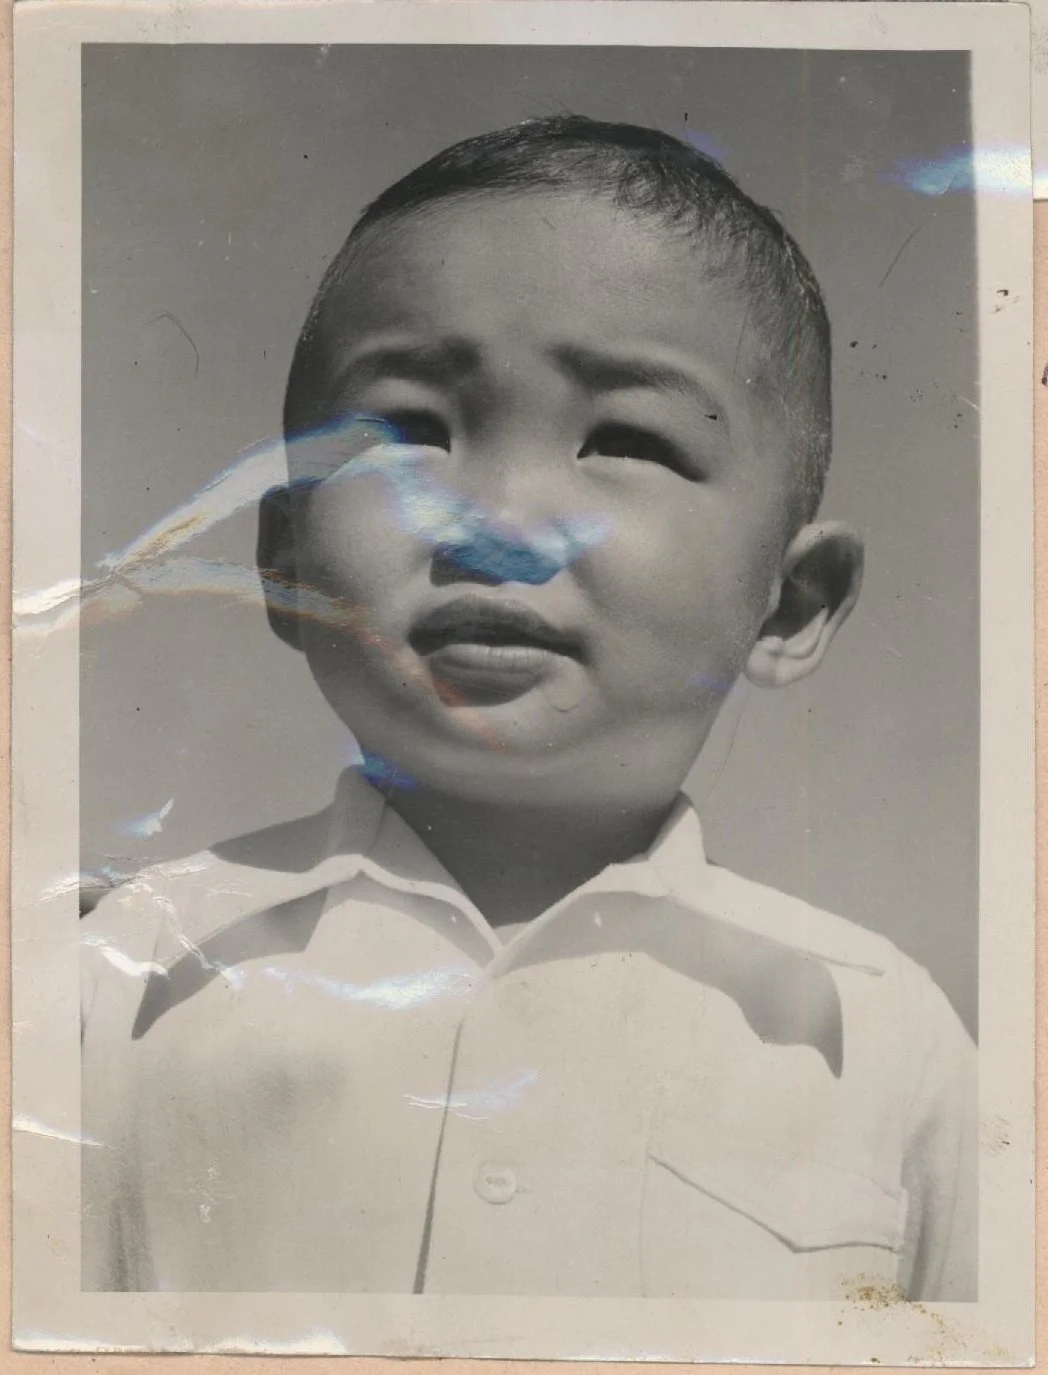
This image is of the second baby born at Manzanar Incarceration Camp where Japanese Americans were imprisoned during WWII. His family donated their family album to Manzanar National Historic Site with a non-commercial fair use creative commons license so future generations would know their story and not repeat it. I didn’t scan this image, but I scanned a lot of the images in that archive. I chose this one because it has a nasty glare and lots of dust and grime to remove.
I used the Camera Raw Filter first to see if the reflections remover tool would remove the blue scanner light reflection. It helped a little, but I needed to do a lot more. The “Fix Glare” group contains Spot Healing Brush and Clone Stamp to fix the smaller areas of glare. To fix the nose and eye, I used the Adjustment Layer Brush to desaturate the blue and match it to the silver print tone. Then I used the same tool to paint a Brightness/Contrast Adjustment Layer to bring out the details on the nose that are lost in the glare.
Then I cleaned up the dust and grime with the Spot Healing Brush and Clone Stamp. The Content Aware setting on the Spot Healing Brush made some weird choices on the background near his ear, so I fixed it with a Selection Mask of his face and Clone Stamp Brush.
Finally, I wasn’t happy with the glare fixes on the nose and eye, so I tried to duplicate his intact eye, but that didn’t work because of the shadows. So I made his face a Smart Object with the selection mask and experimented with Surface Blur. Once I found a surface blur setting that looked ok, I replicated it on the Clean Up Dust Layer and the Fix Glare Group.
Creative Project 04 – Book or Album Cover
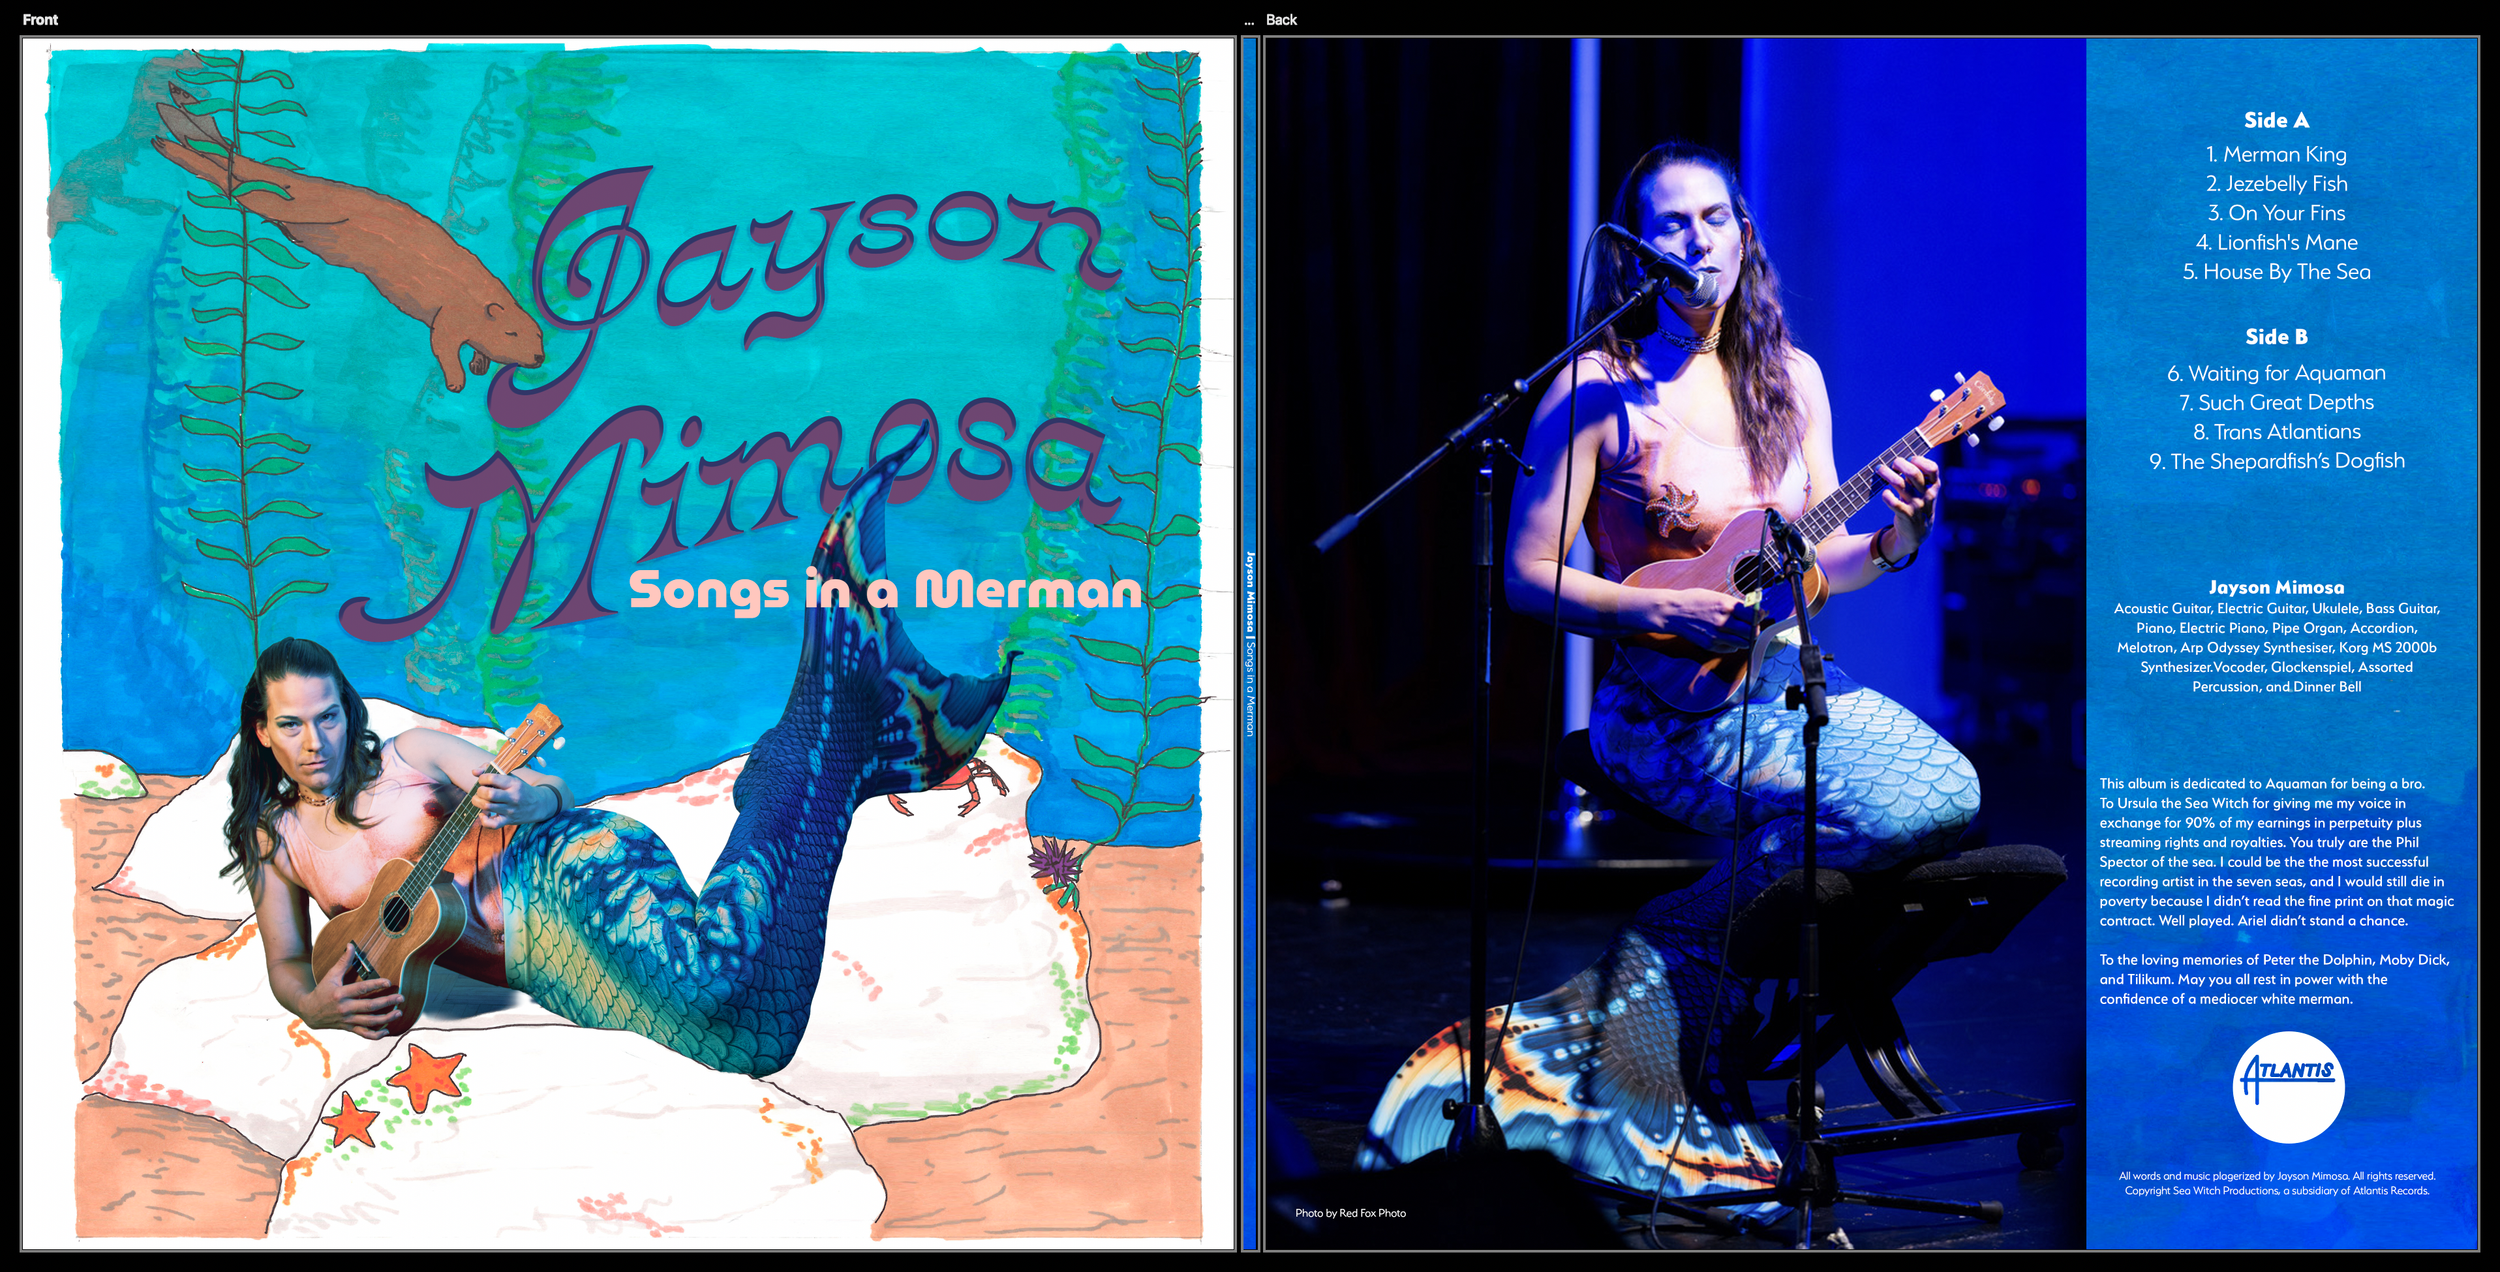
The three images I used for this project were a self portrait I made to promote a performance I did earlier this year, a photo from the performance by a professional photographer, and a scanned drawing I made a few years ago. For the texture, I copied a segment of the drawing.
I chose to go to do an LP sleeve instead of a CD because the character of Jayson Mimosa is an audiophile. He definitely will bore you with how much better vinyl sounds than CDs.
I applied a warp to the Jayson Mimosa title text, as well as layer effects. The rest of the text is standard copy found on LP sleeves: track titles, credits, and copyright information.
I used a clipping mask to remove the background on the cover photo and on the parody logo. The parody logo is also my custom shape. I traced the iconic Atlantic Records logo and changed the name to Atlantis, because it’s a singing merman.
Creative Project 05 – Movie Poster
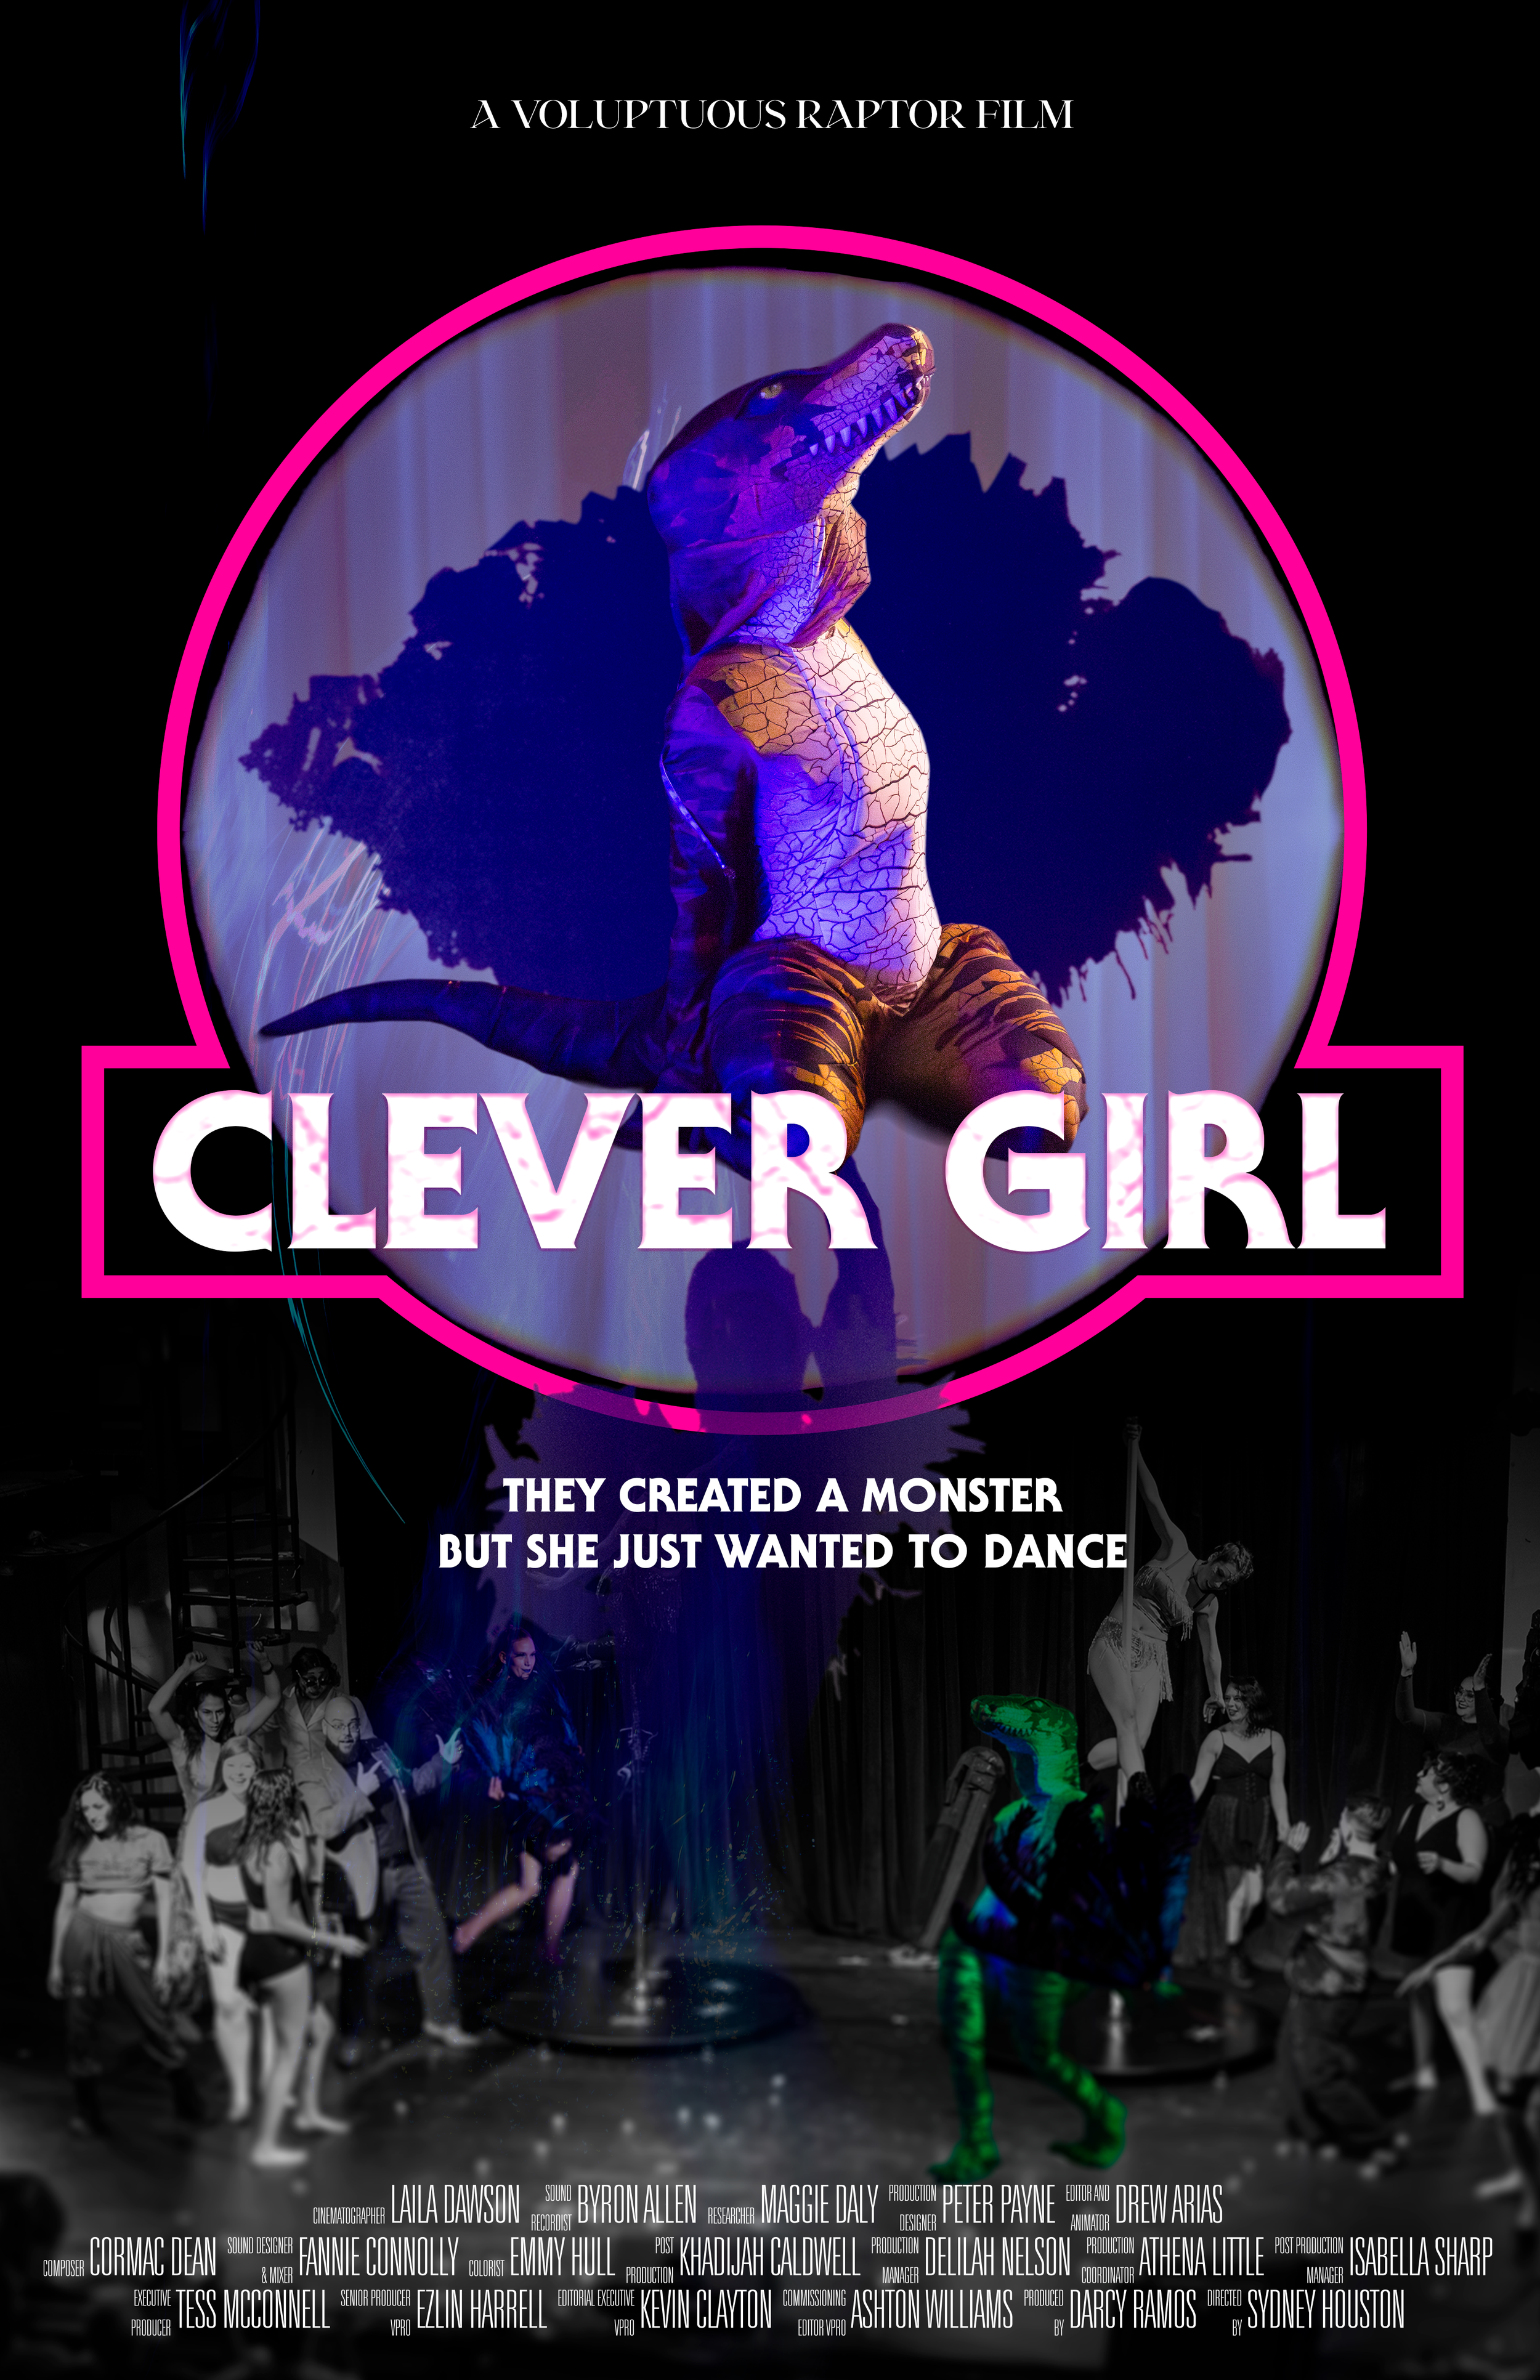
To create this movie poster I used photographs from some of my performances. None of the provided movie synopsis were inspiring so I created my own. I took elements from my performance photos to create a collage that parodies a classic franchise. I used groups to test different logo options and smart objects to allow me to keep testing different approaches. I used the rectangle and ellipses tools to build the logo shape and tested concepts before settling on my final version, which combines the two concepts I was playing with.
Synopsis:
In a world where dinosaurs are brought back from extinction, one velociraptor realizes that the company lied about her DNA and genetically modified her species. Consumers don’t want to pay money to see feathered raptors with complex social skills. They want to see the scaly monsters that paleontologists described before they found fossils with feathers. Feathered dinosaurs are not as exciting because they are just like birds and birds are for nerds. Realizing that she is not a true velociraptor but actually an abomination of scientific malpractice, she runs away from her enclosure and finds herself in Las Vegas. There she meets a showgirl who teaches her how to be a fan dancer and joins a motley cabaret of misfits who accept her.
Her creators still consider her to be a valuable asset and will stop at nothing to track her down and return her to captivity, not believing that she is intelligent and compassionate, despite being engineered to be a killing machine for entertainment. Can this clever girl resist her dark nature and protect her new found family? Will she elude her captors? Can a genetically engineered girl catch a break? Find out this summer.
Lessons-Skill Practice
Lesson 5-Using Filters
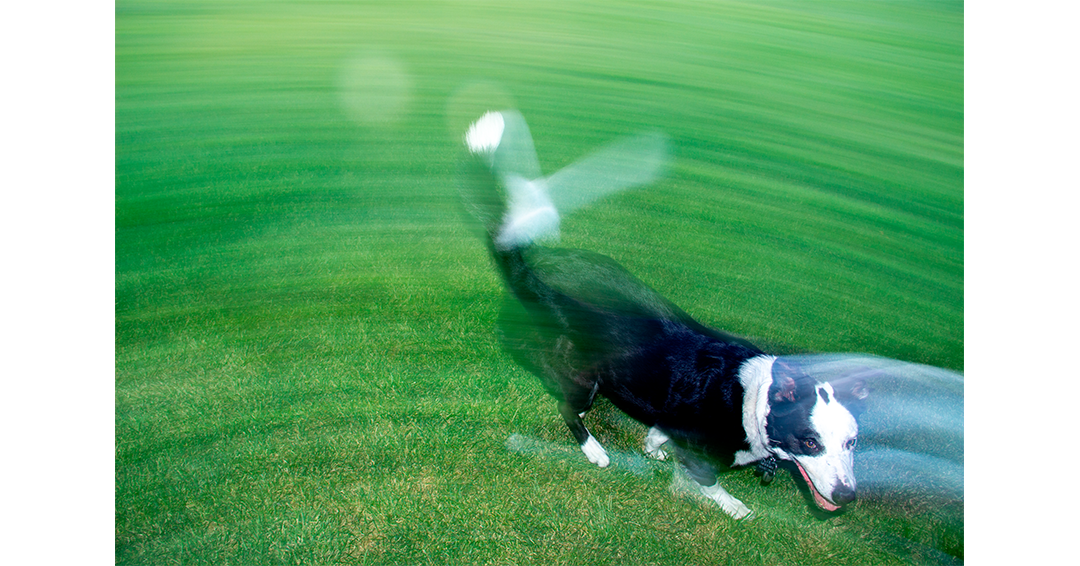
Original
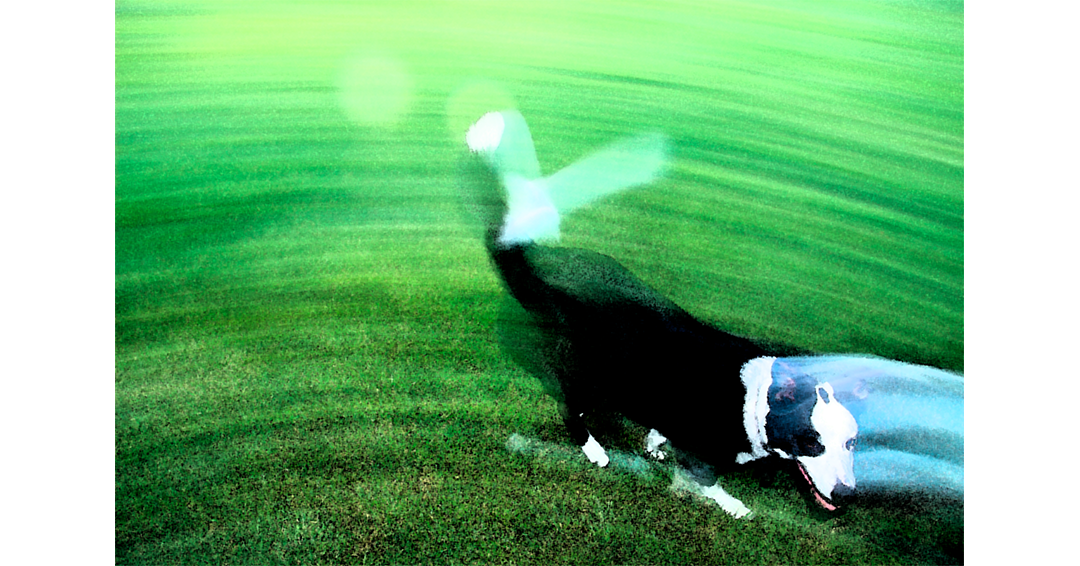
This is the Water paper and Water color filters from the filter gallery
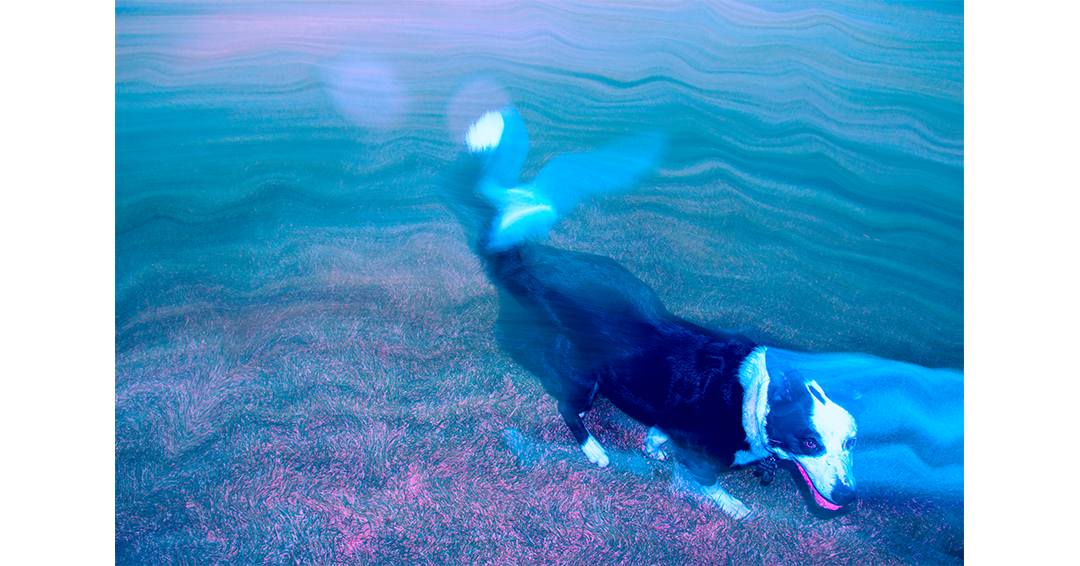
This is the liquify filter with the color transfer filter

This is the halftone filer which made the image B&W. SO I tried the colorize filter.
Lesson 6-Layer Essentials
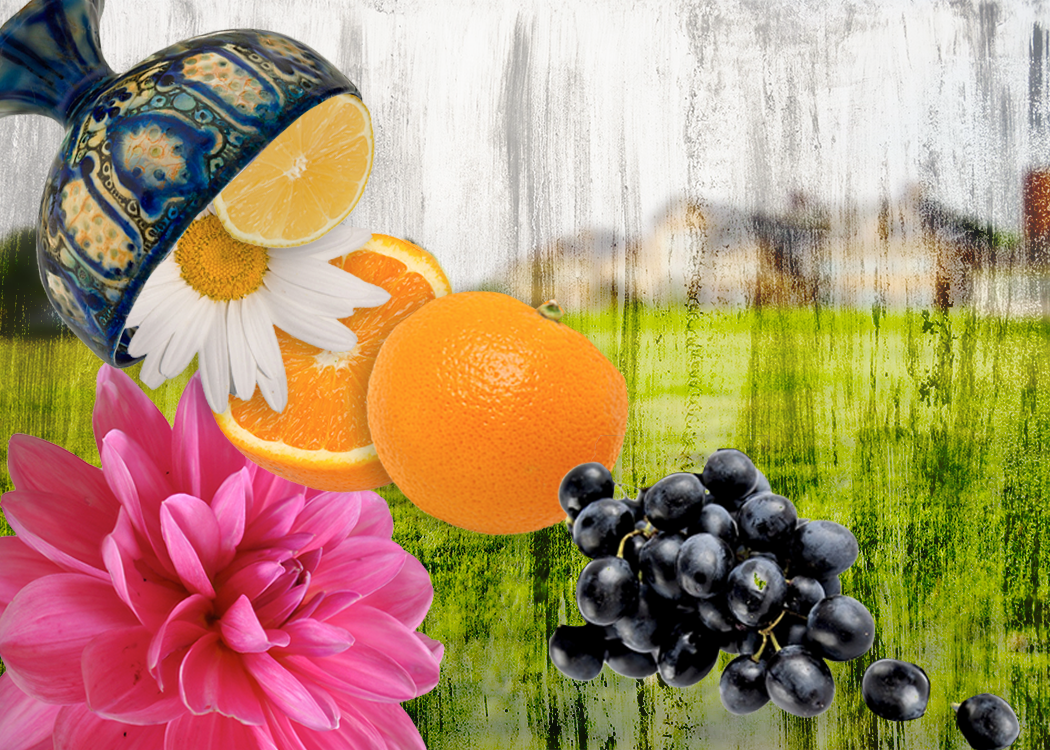
I wanted to make a somewhat surreal image if the fruits tumbling out of a container that couldn't possibly hold them
Lesson 07-Layers Continued
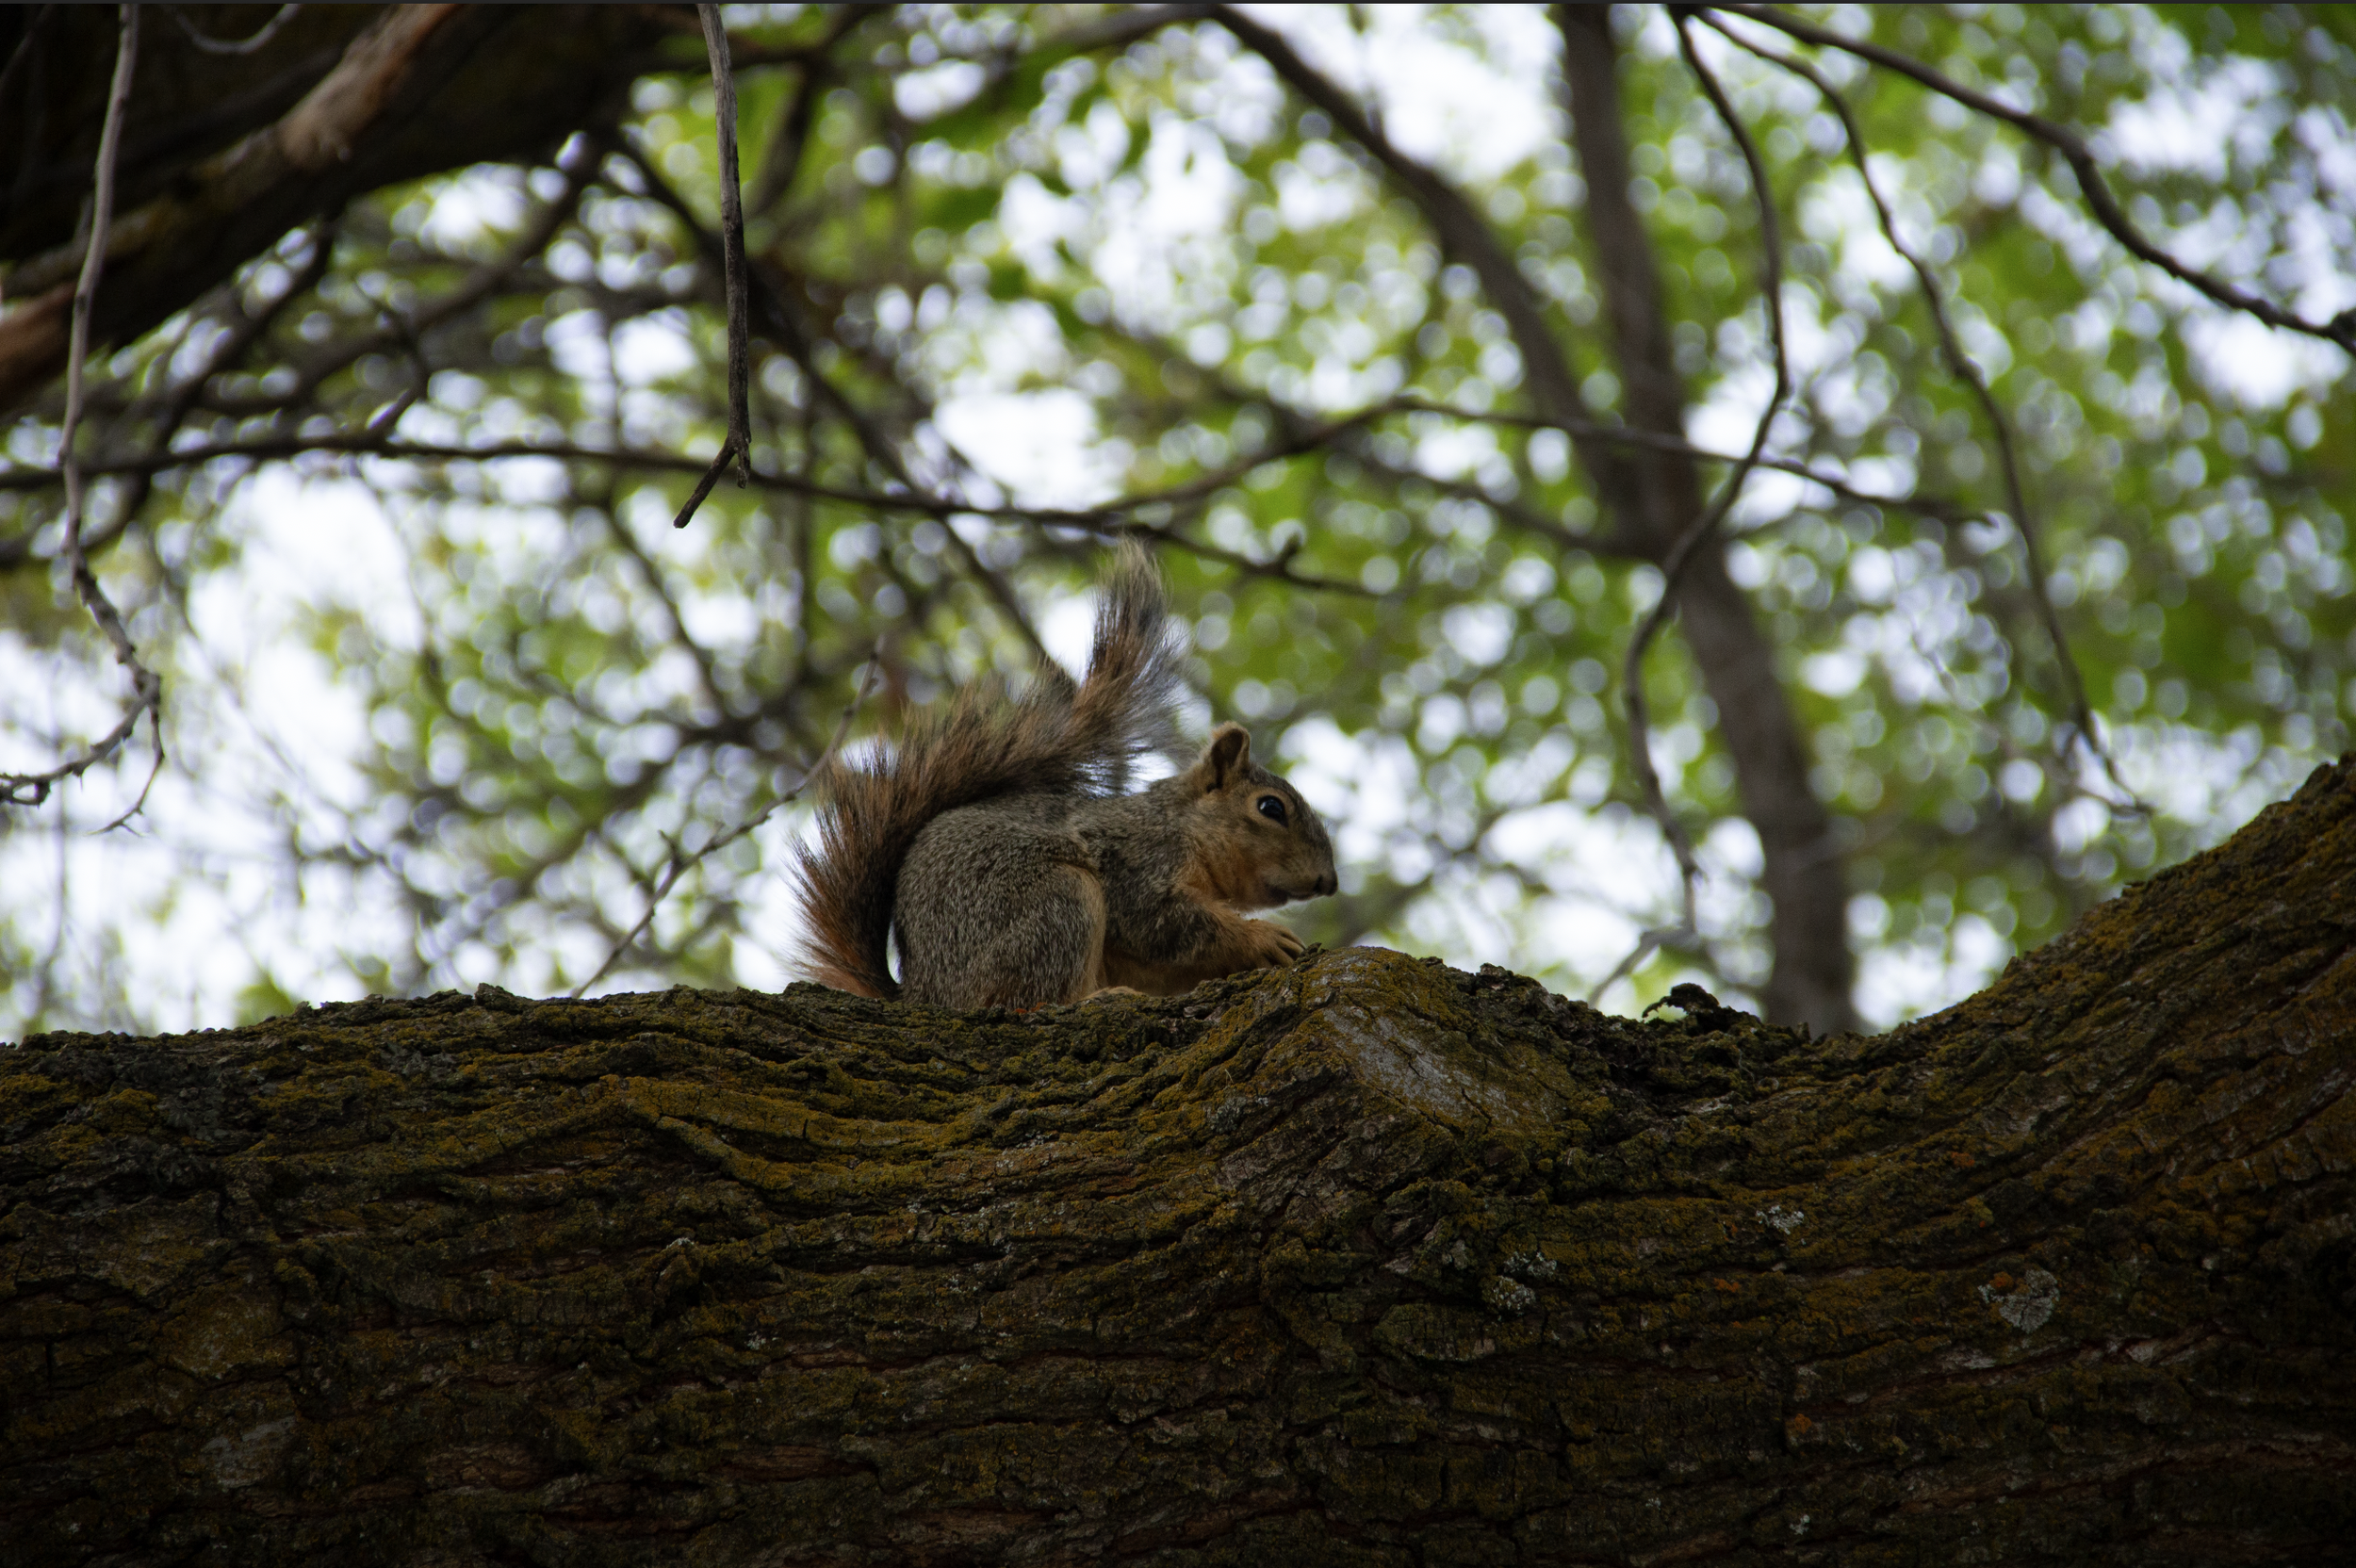
Original
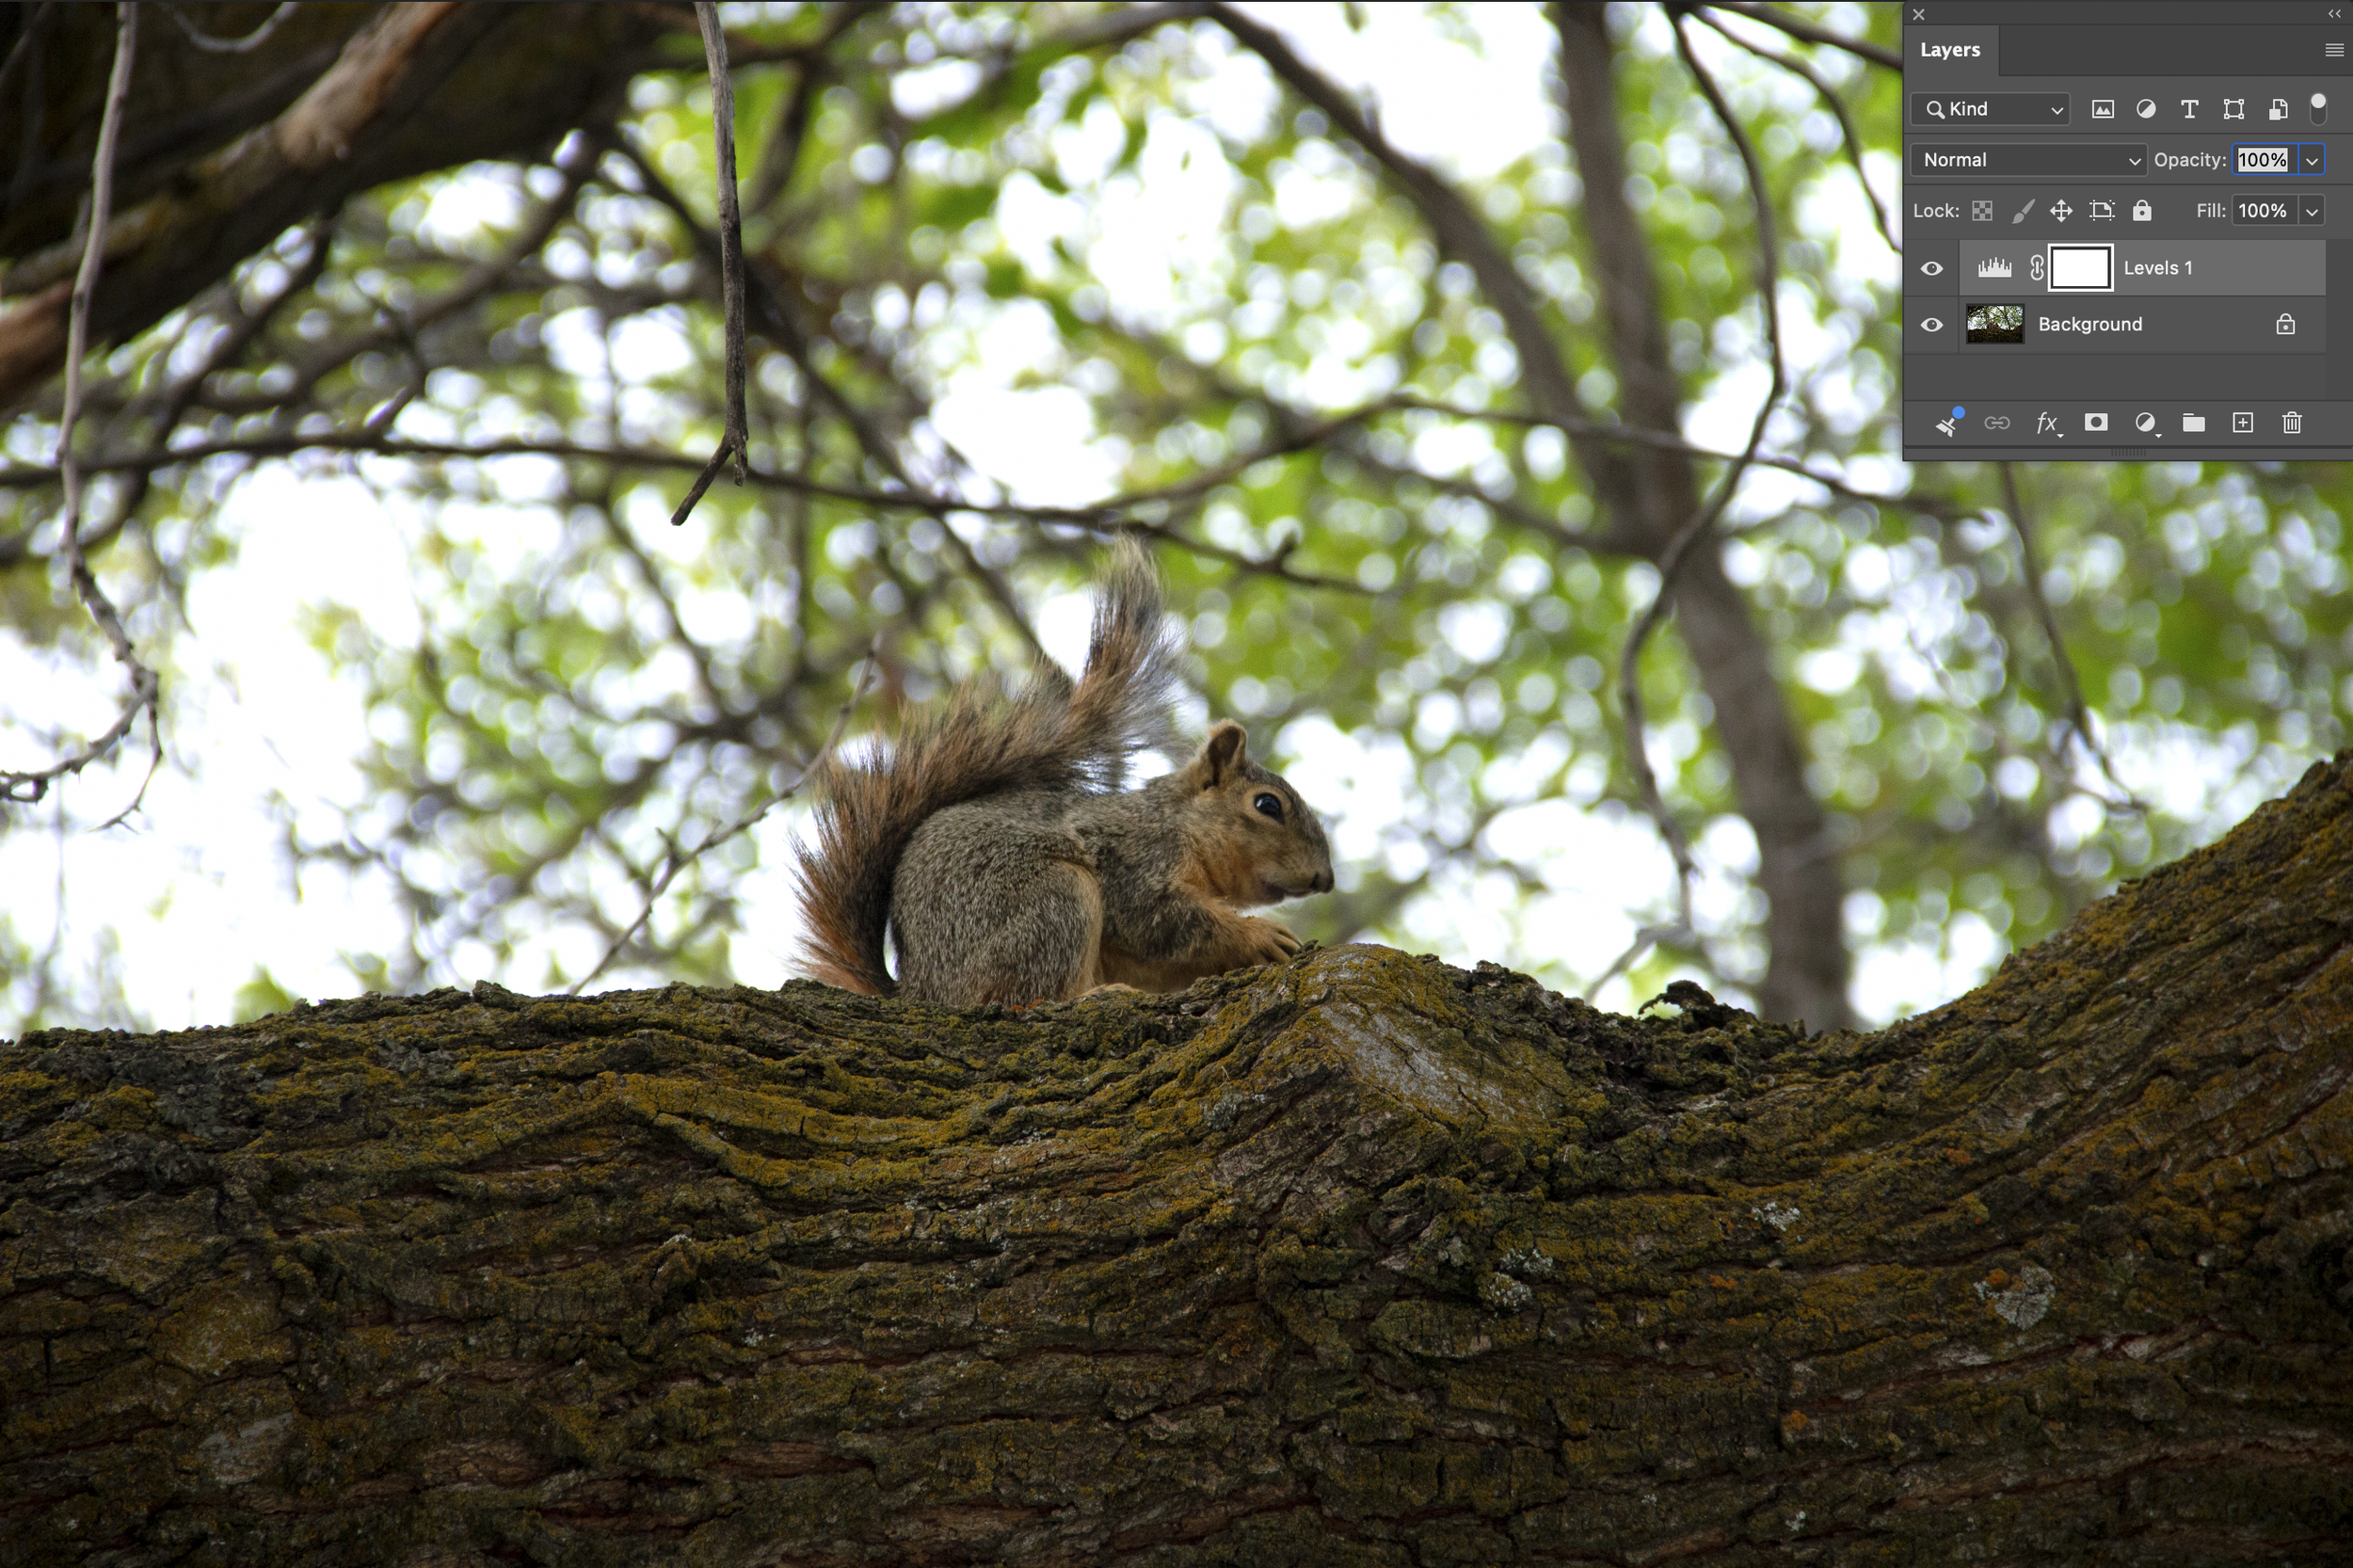
I used a Levels adjustment layer to lighten and bring out more details in the subject, aka the squirrel.
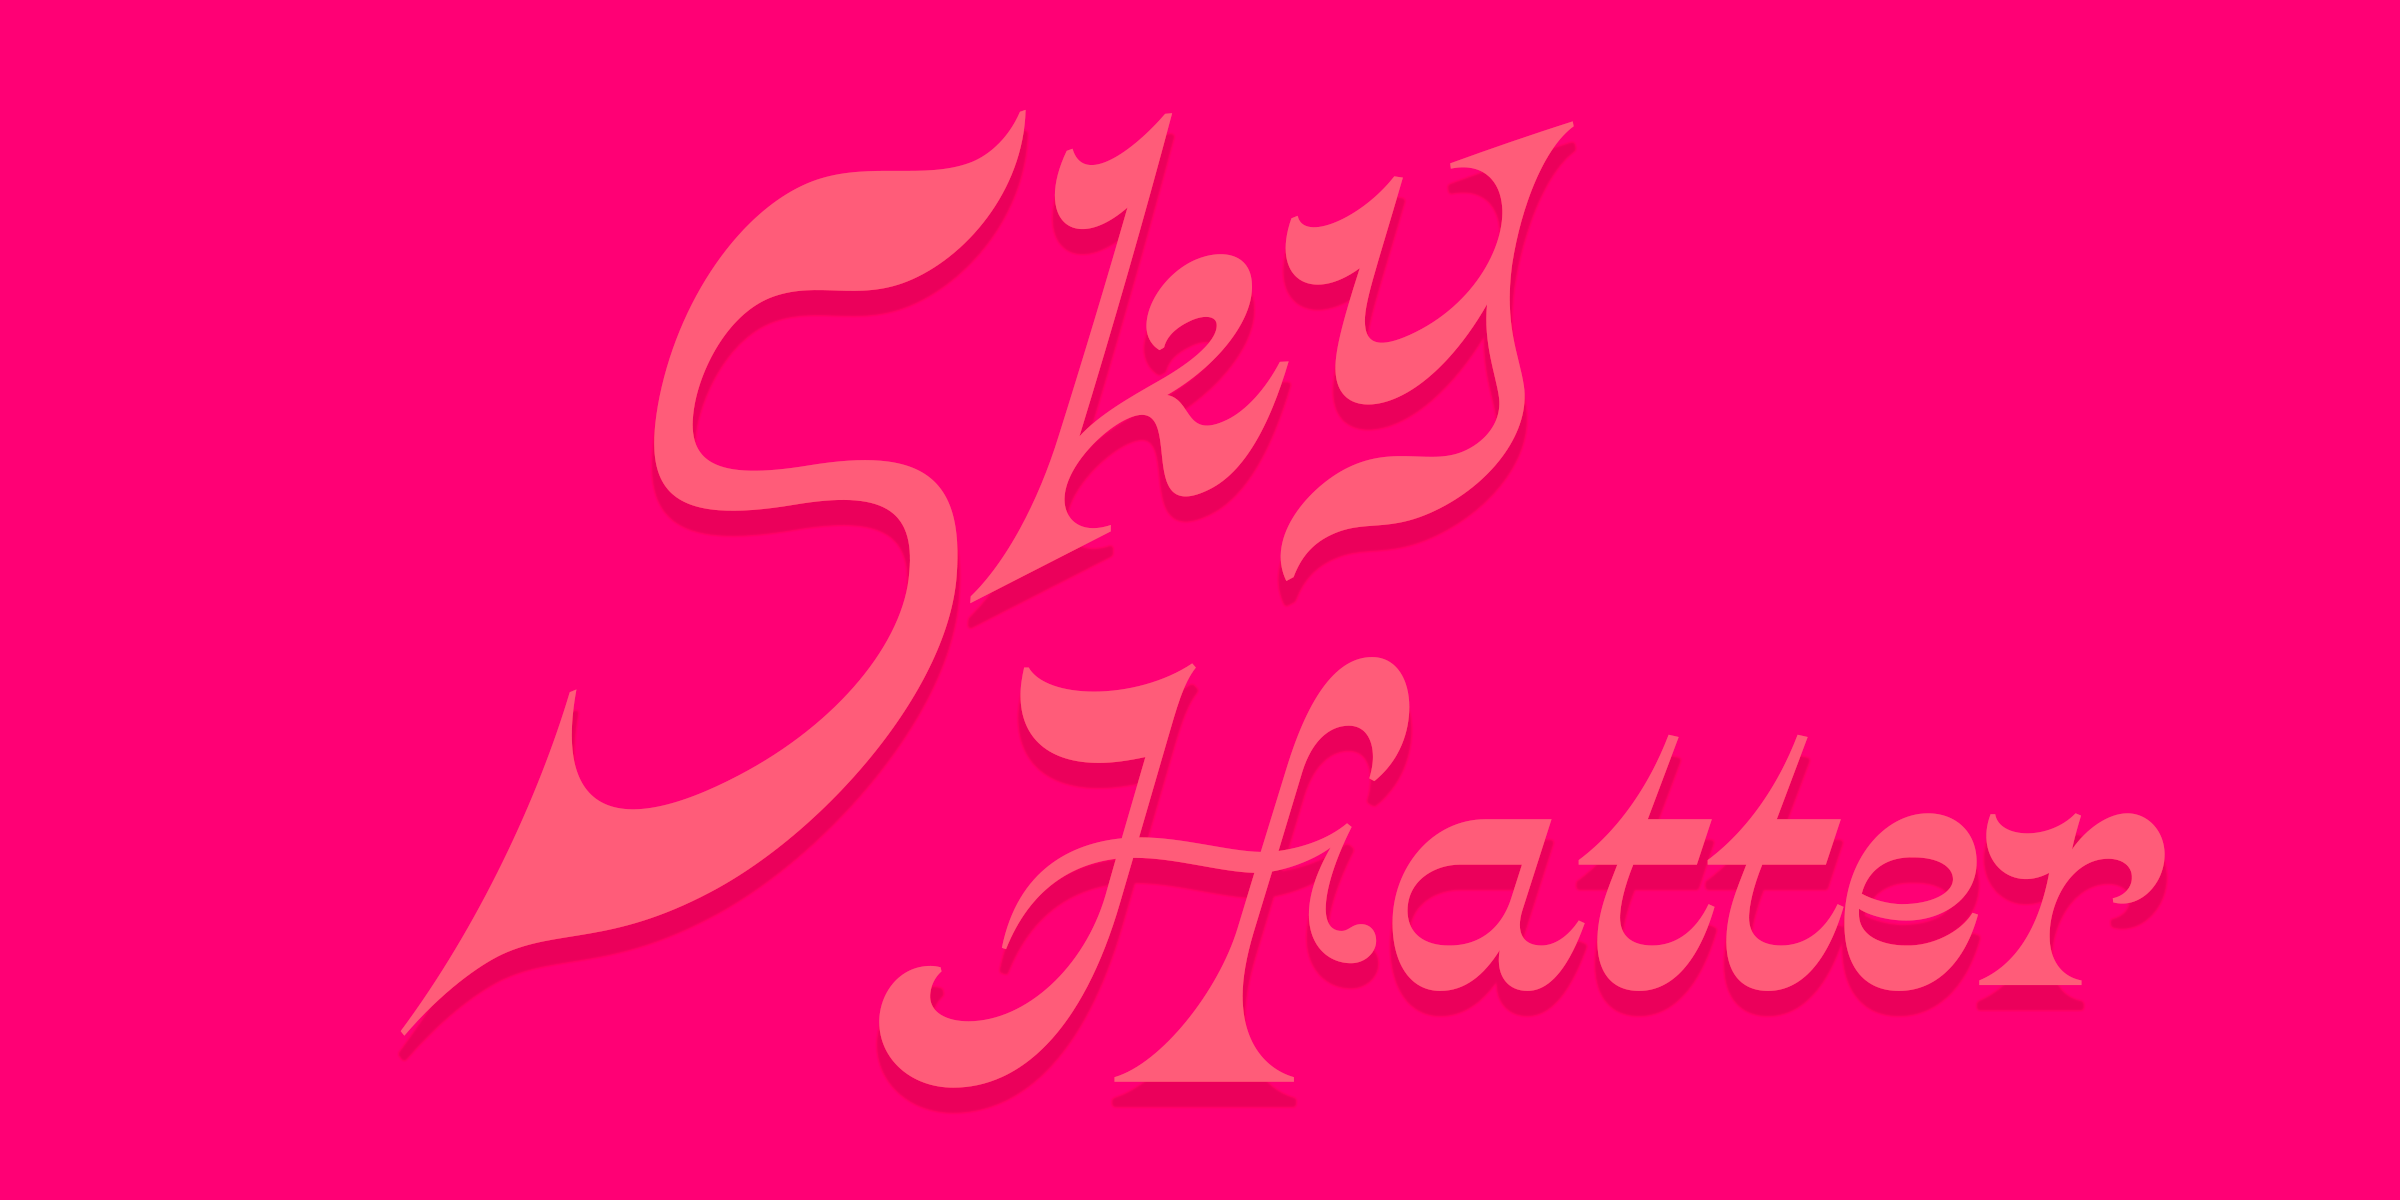
Warp Text
Lesson 08-Using Color
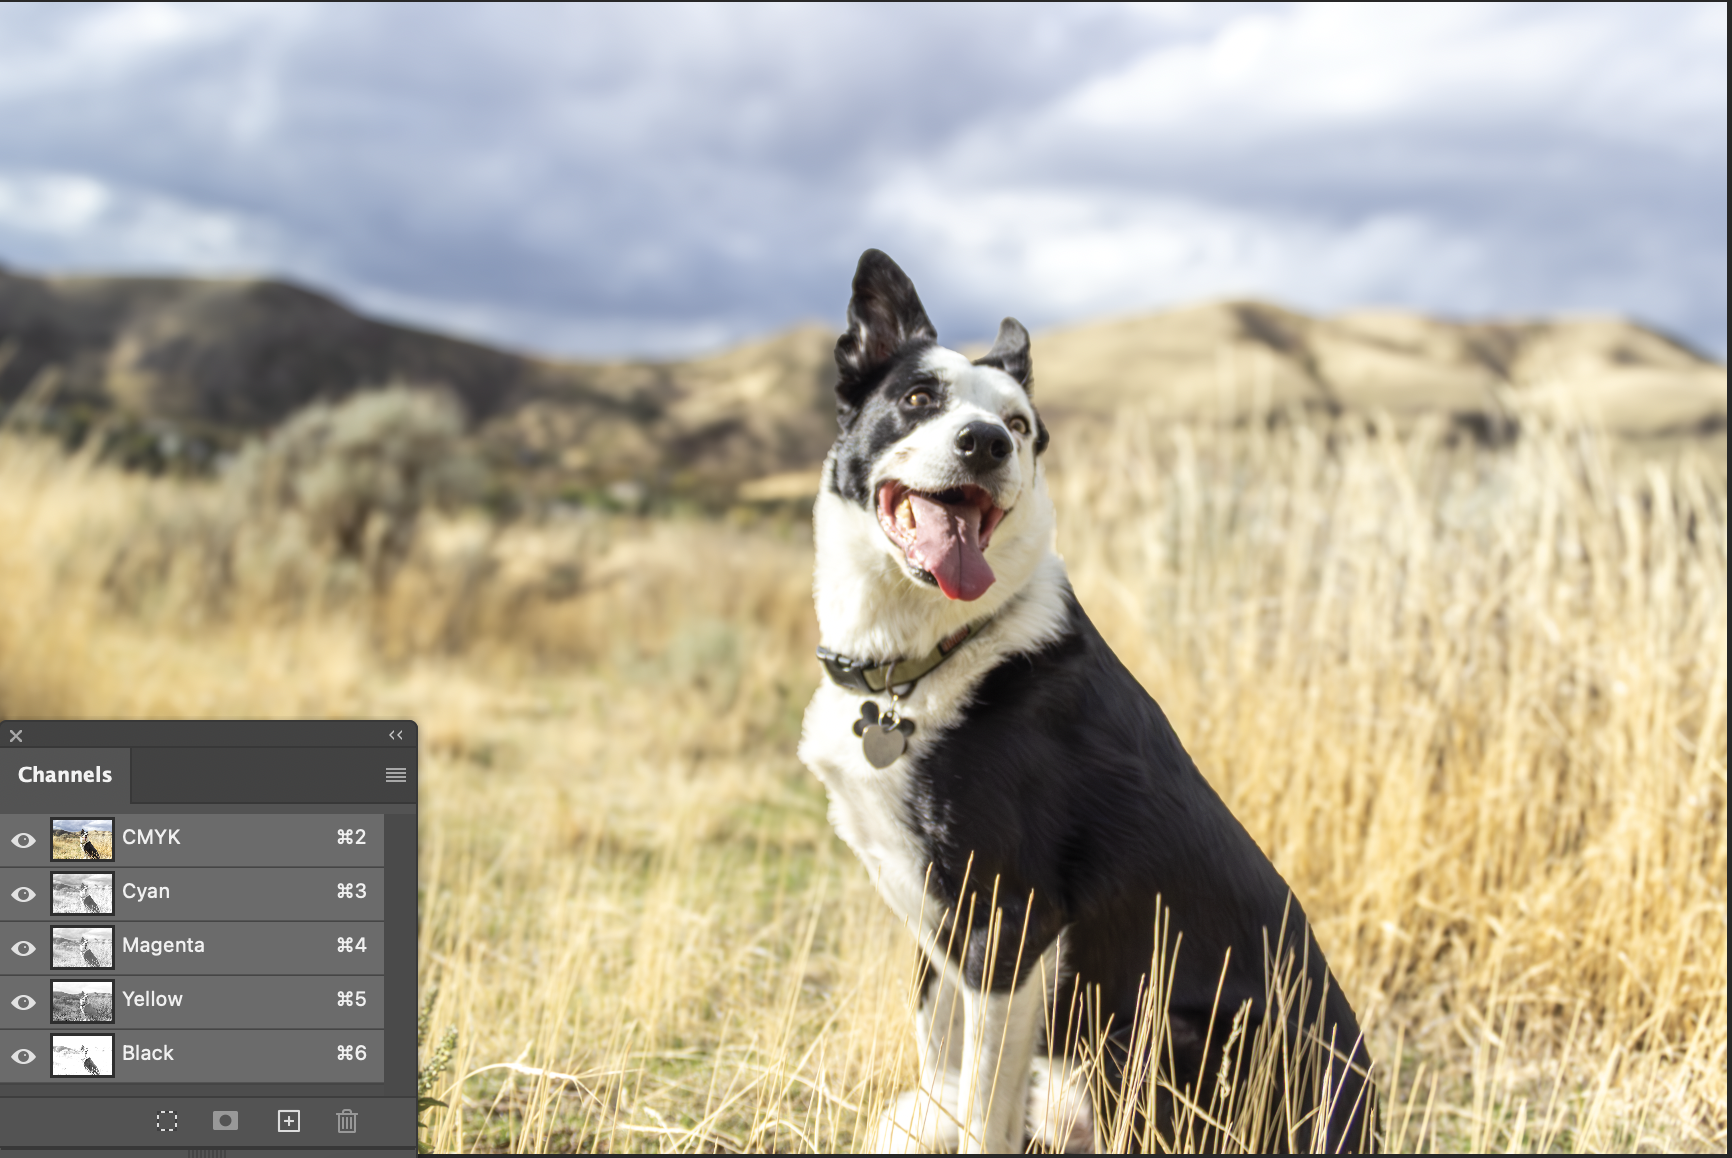
I need cyan, magenta, yellow, and black. Yellow is the most saturated.
Lesson 9-Intro to Selections
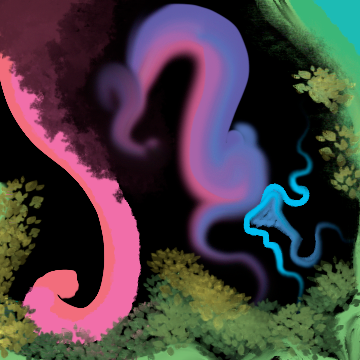
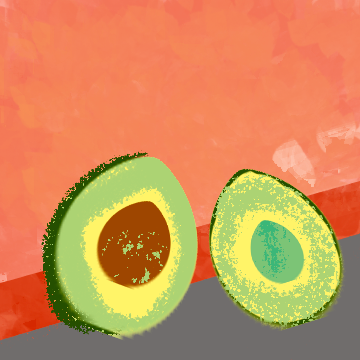
Lesson 10-Brushes & Painting
Lesson 11-Intermediate Selections & Masks
Lesson 12-Combining Images
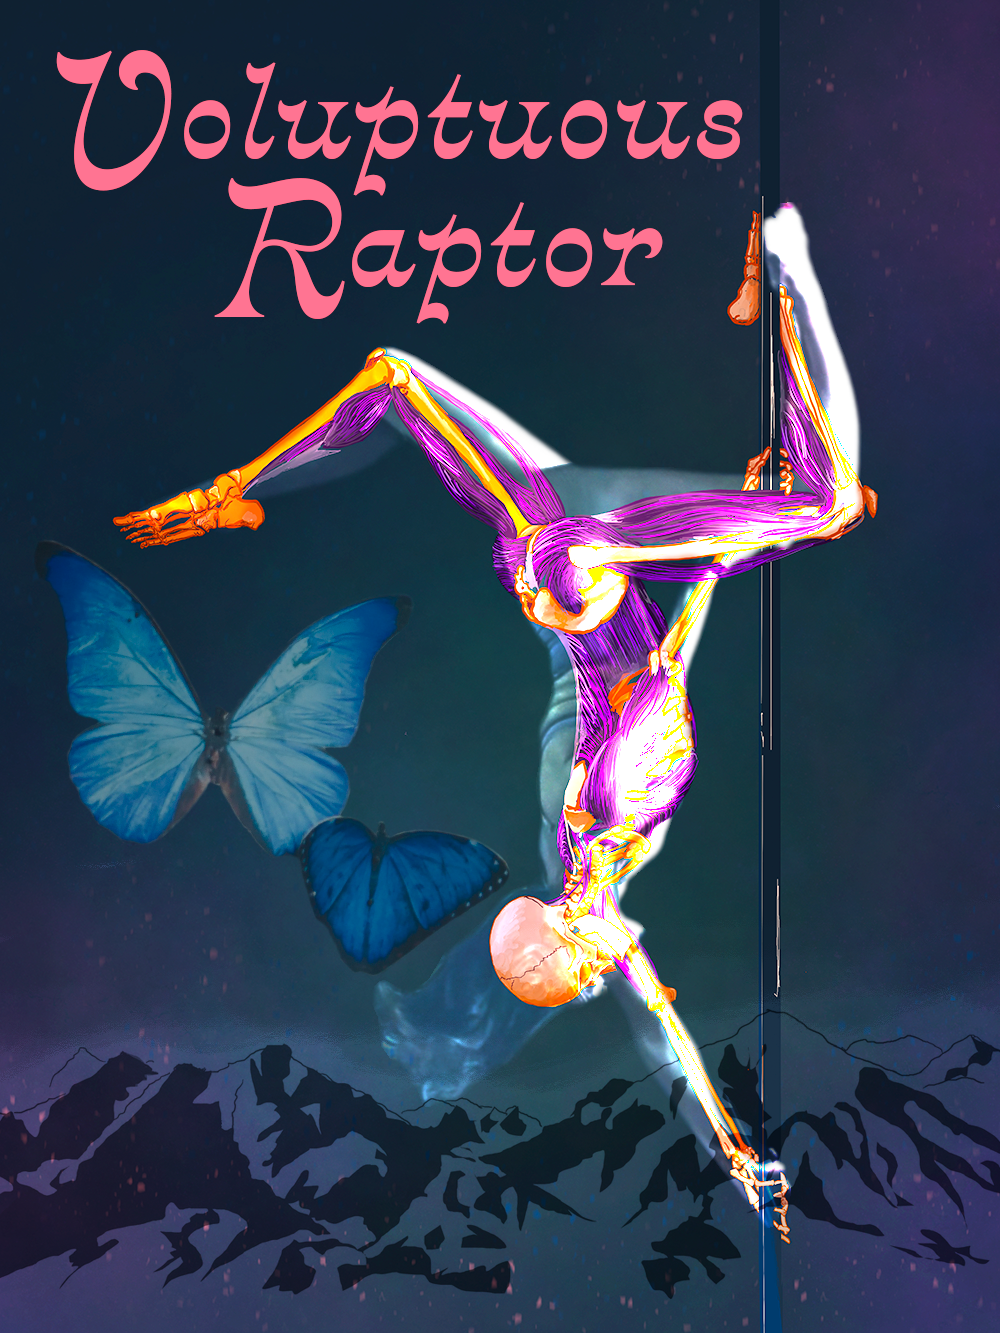
This is a combination of a digital painting I created of the musculature and skeleton configuration for a pole move called the butterfly. I then imposed an image of myself in the butterfly. I used puppet warp to fine tune my position to match the illustration. Then I added the mountain illustration. Its a drawing a made for my sister's tattoo of the mountains we see from our childhood home. Finally, I found a royalty free image of blue morpho butterflies, which are my favorite species. Voluptuous Raptor is my stage name.
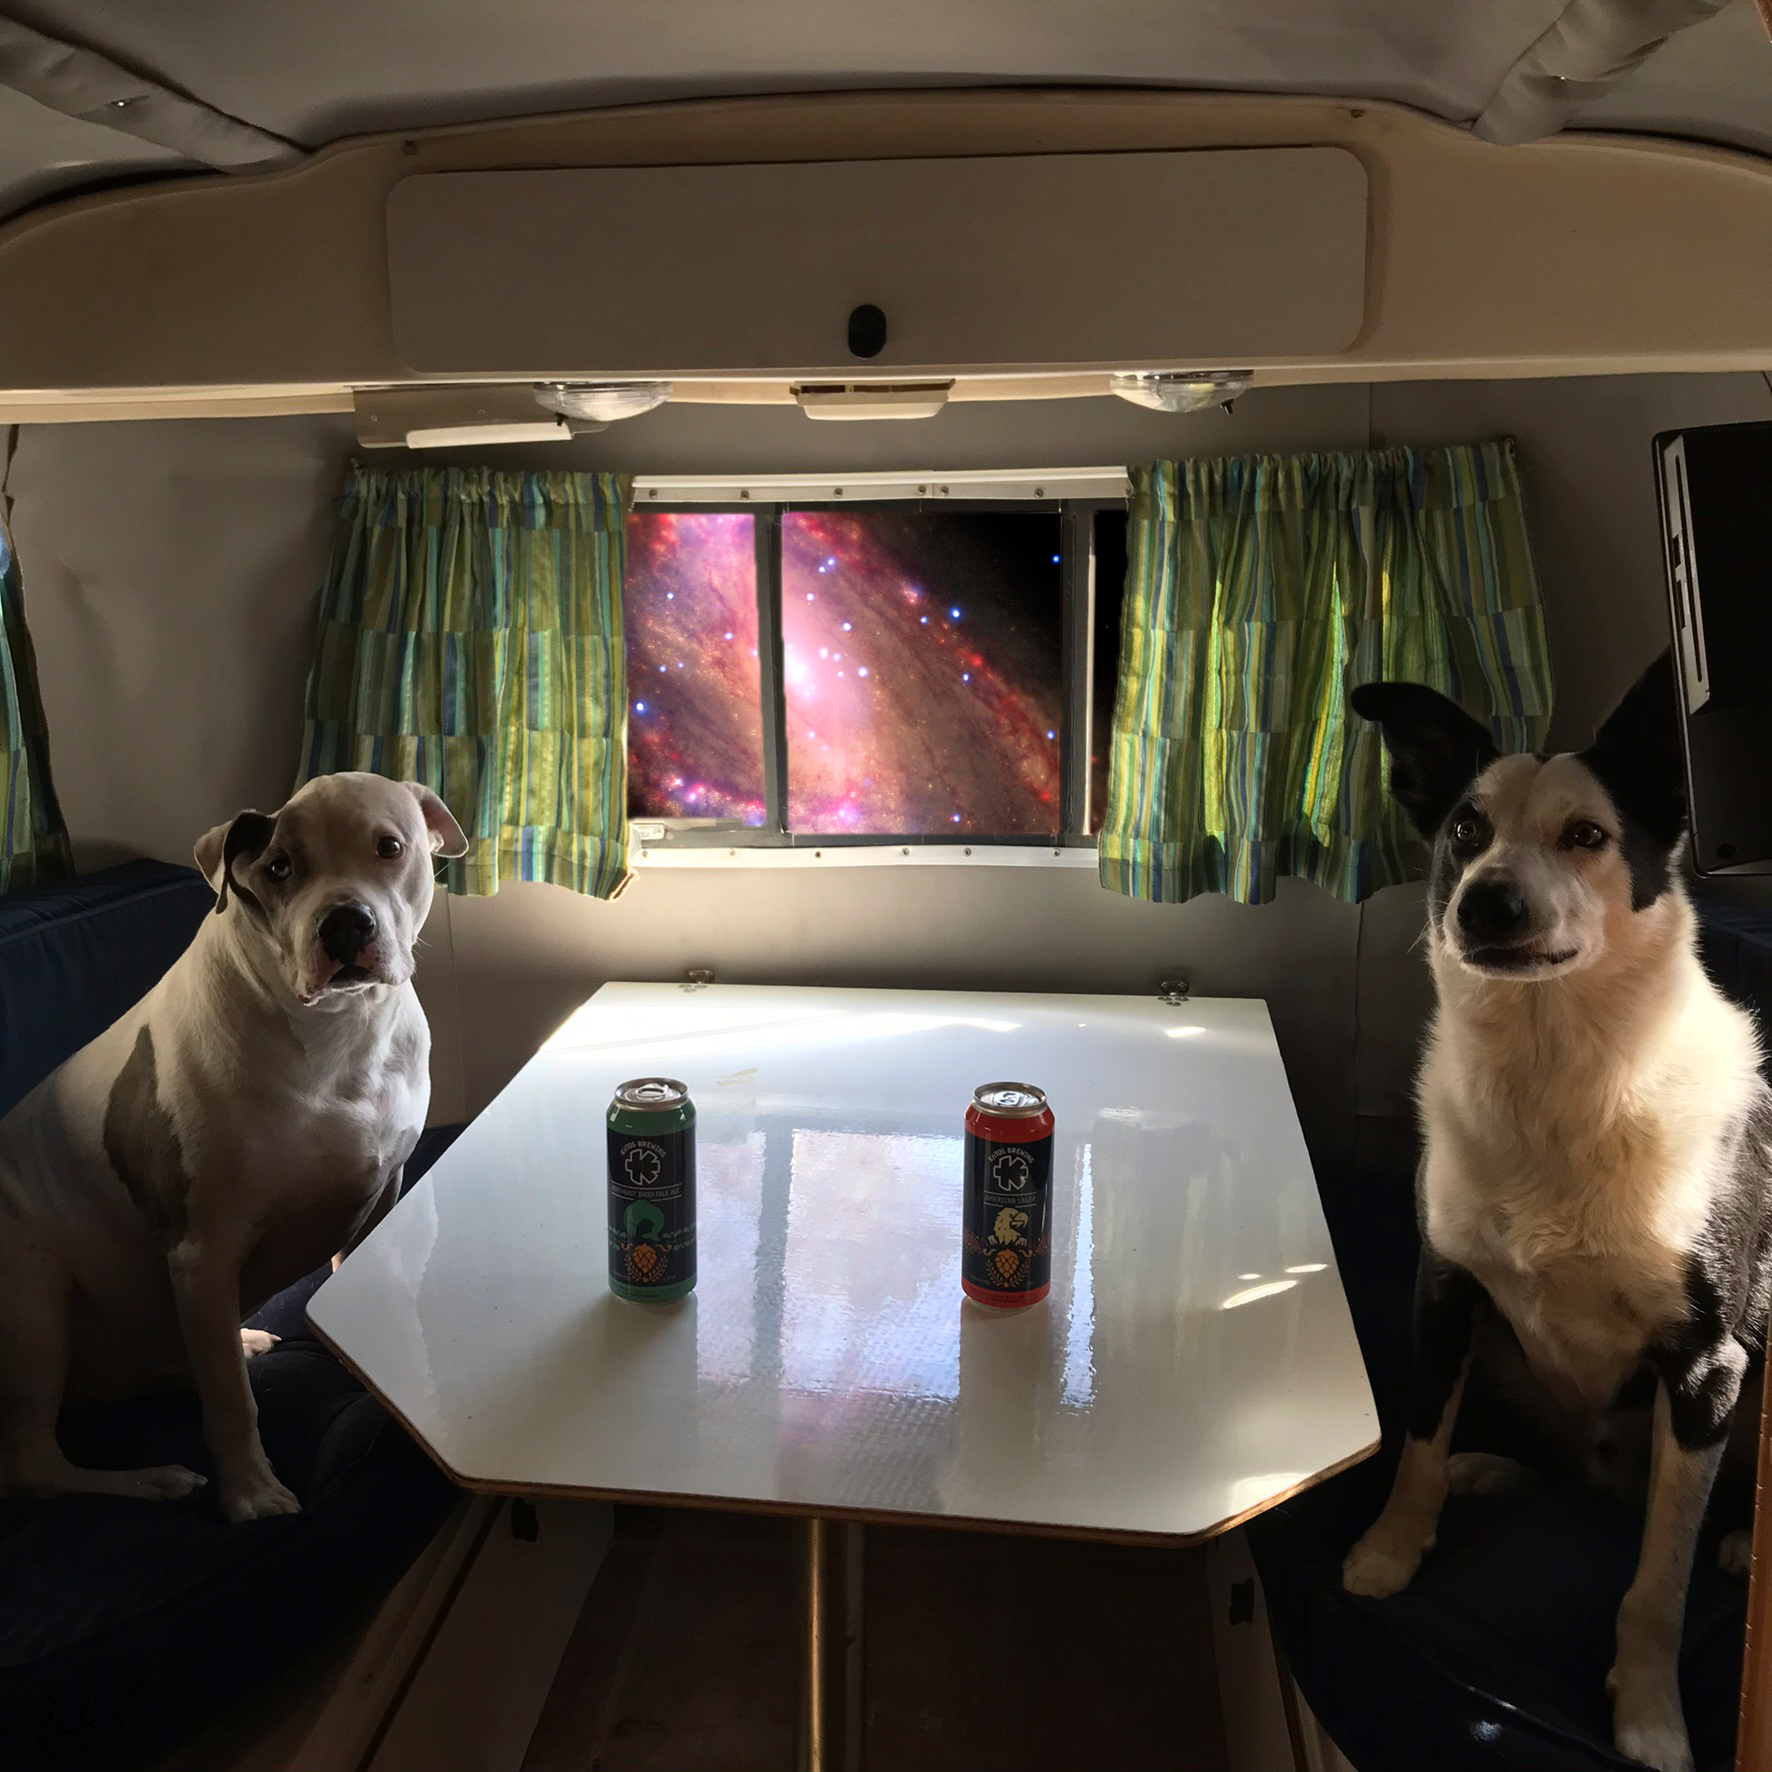
My dogs are having a beer while traveling through space! Why didn't they invite me?!
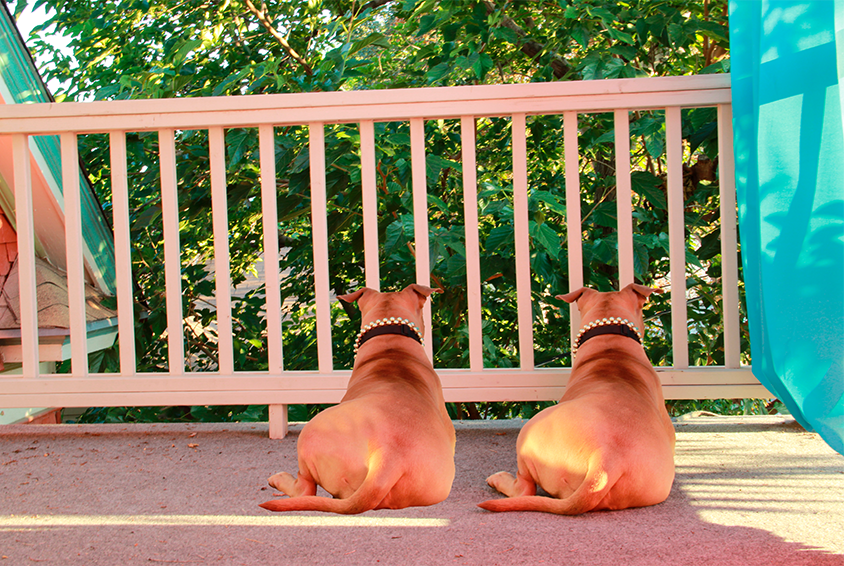
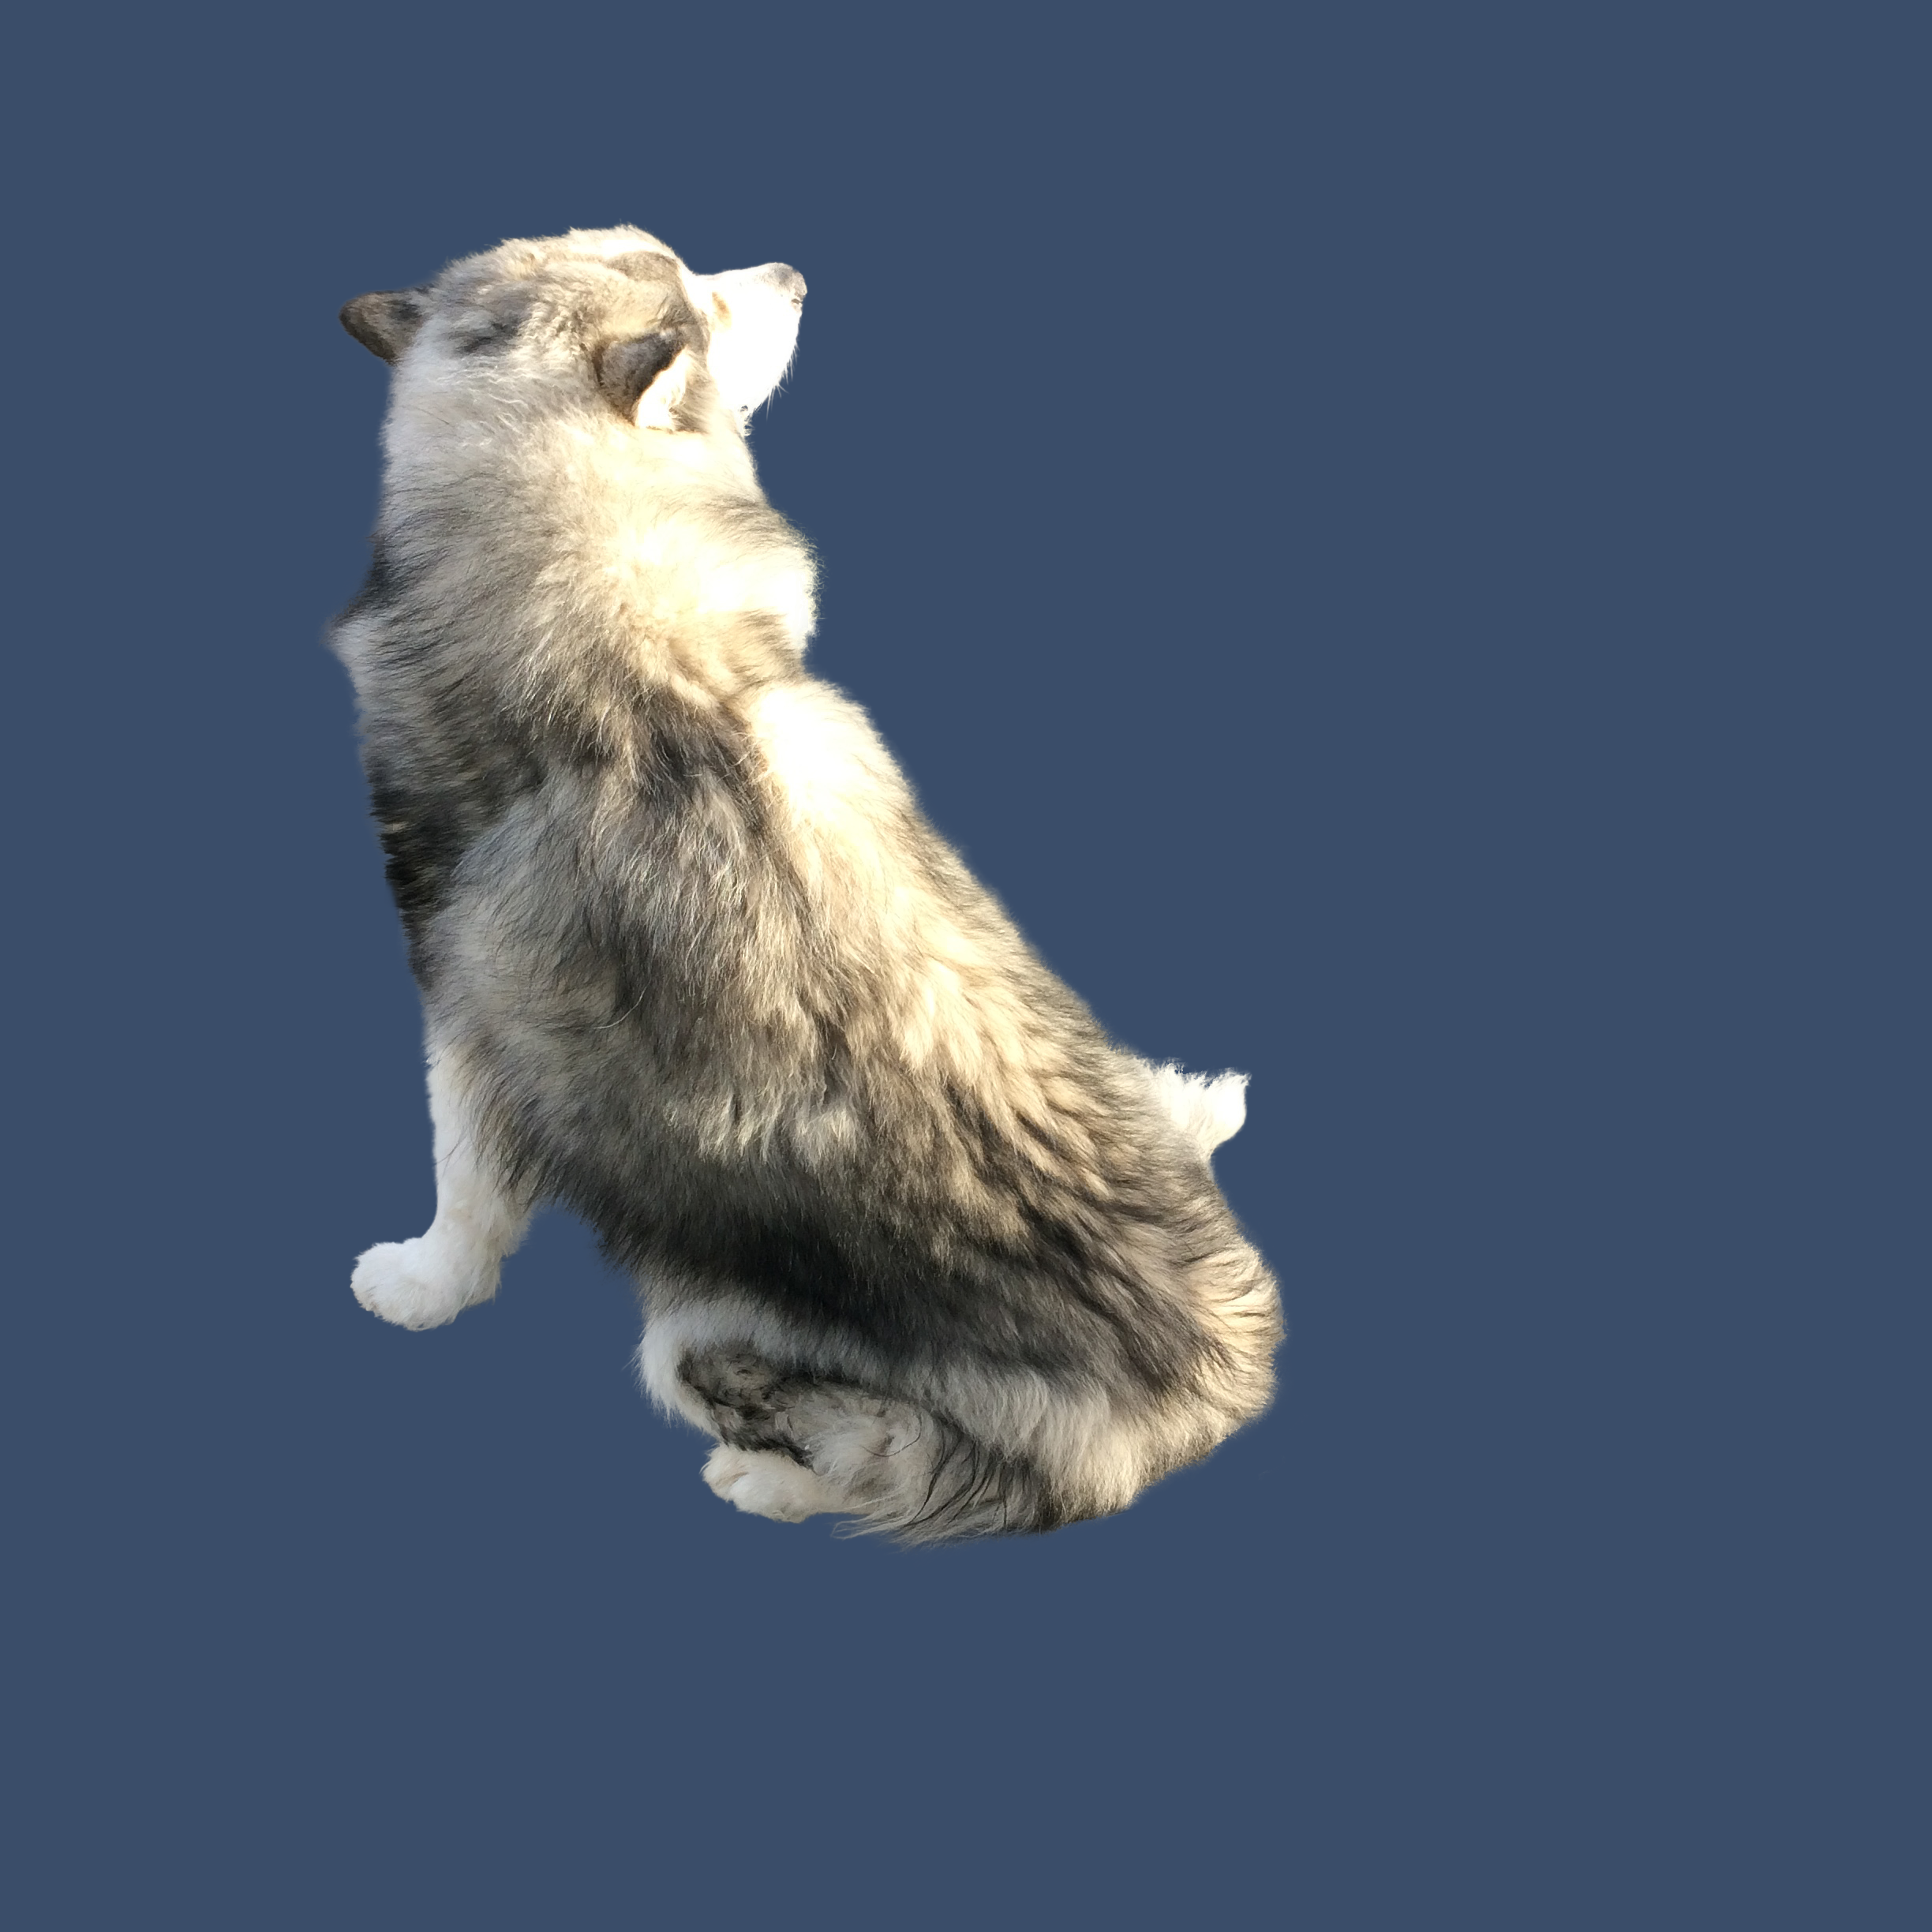
This one is a two-for. I duplicated my dog on the porch. Then I used the clone stamp to remove the highlight on her rump so that it looks more natural as the duplicate is more in the shadow.
Lesson 13-Fixing & Retouching Images
Lesson 14-Layer Effects & Styles
Lesson 15-Adding & Modifying Type
Lesson 16-Vector Art & Paths
Lesson 17-Refocusing
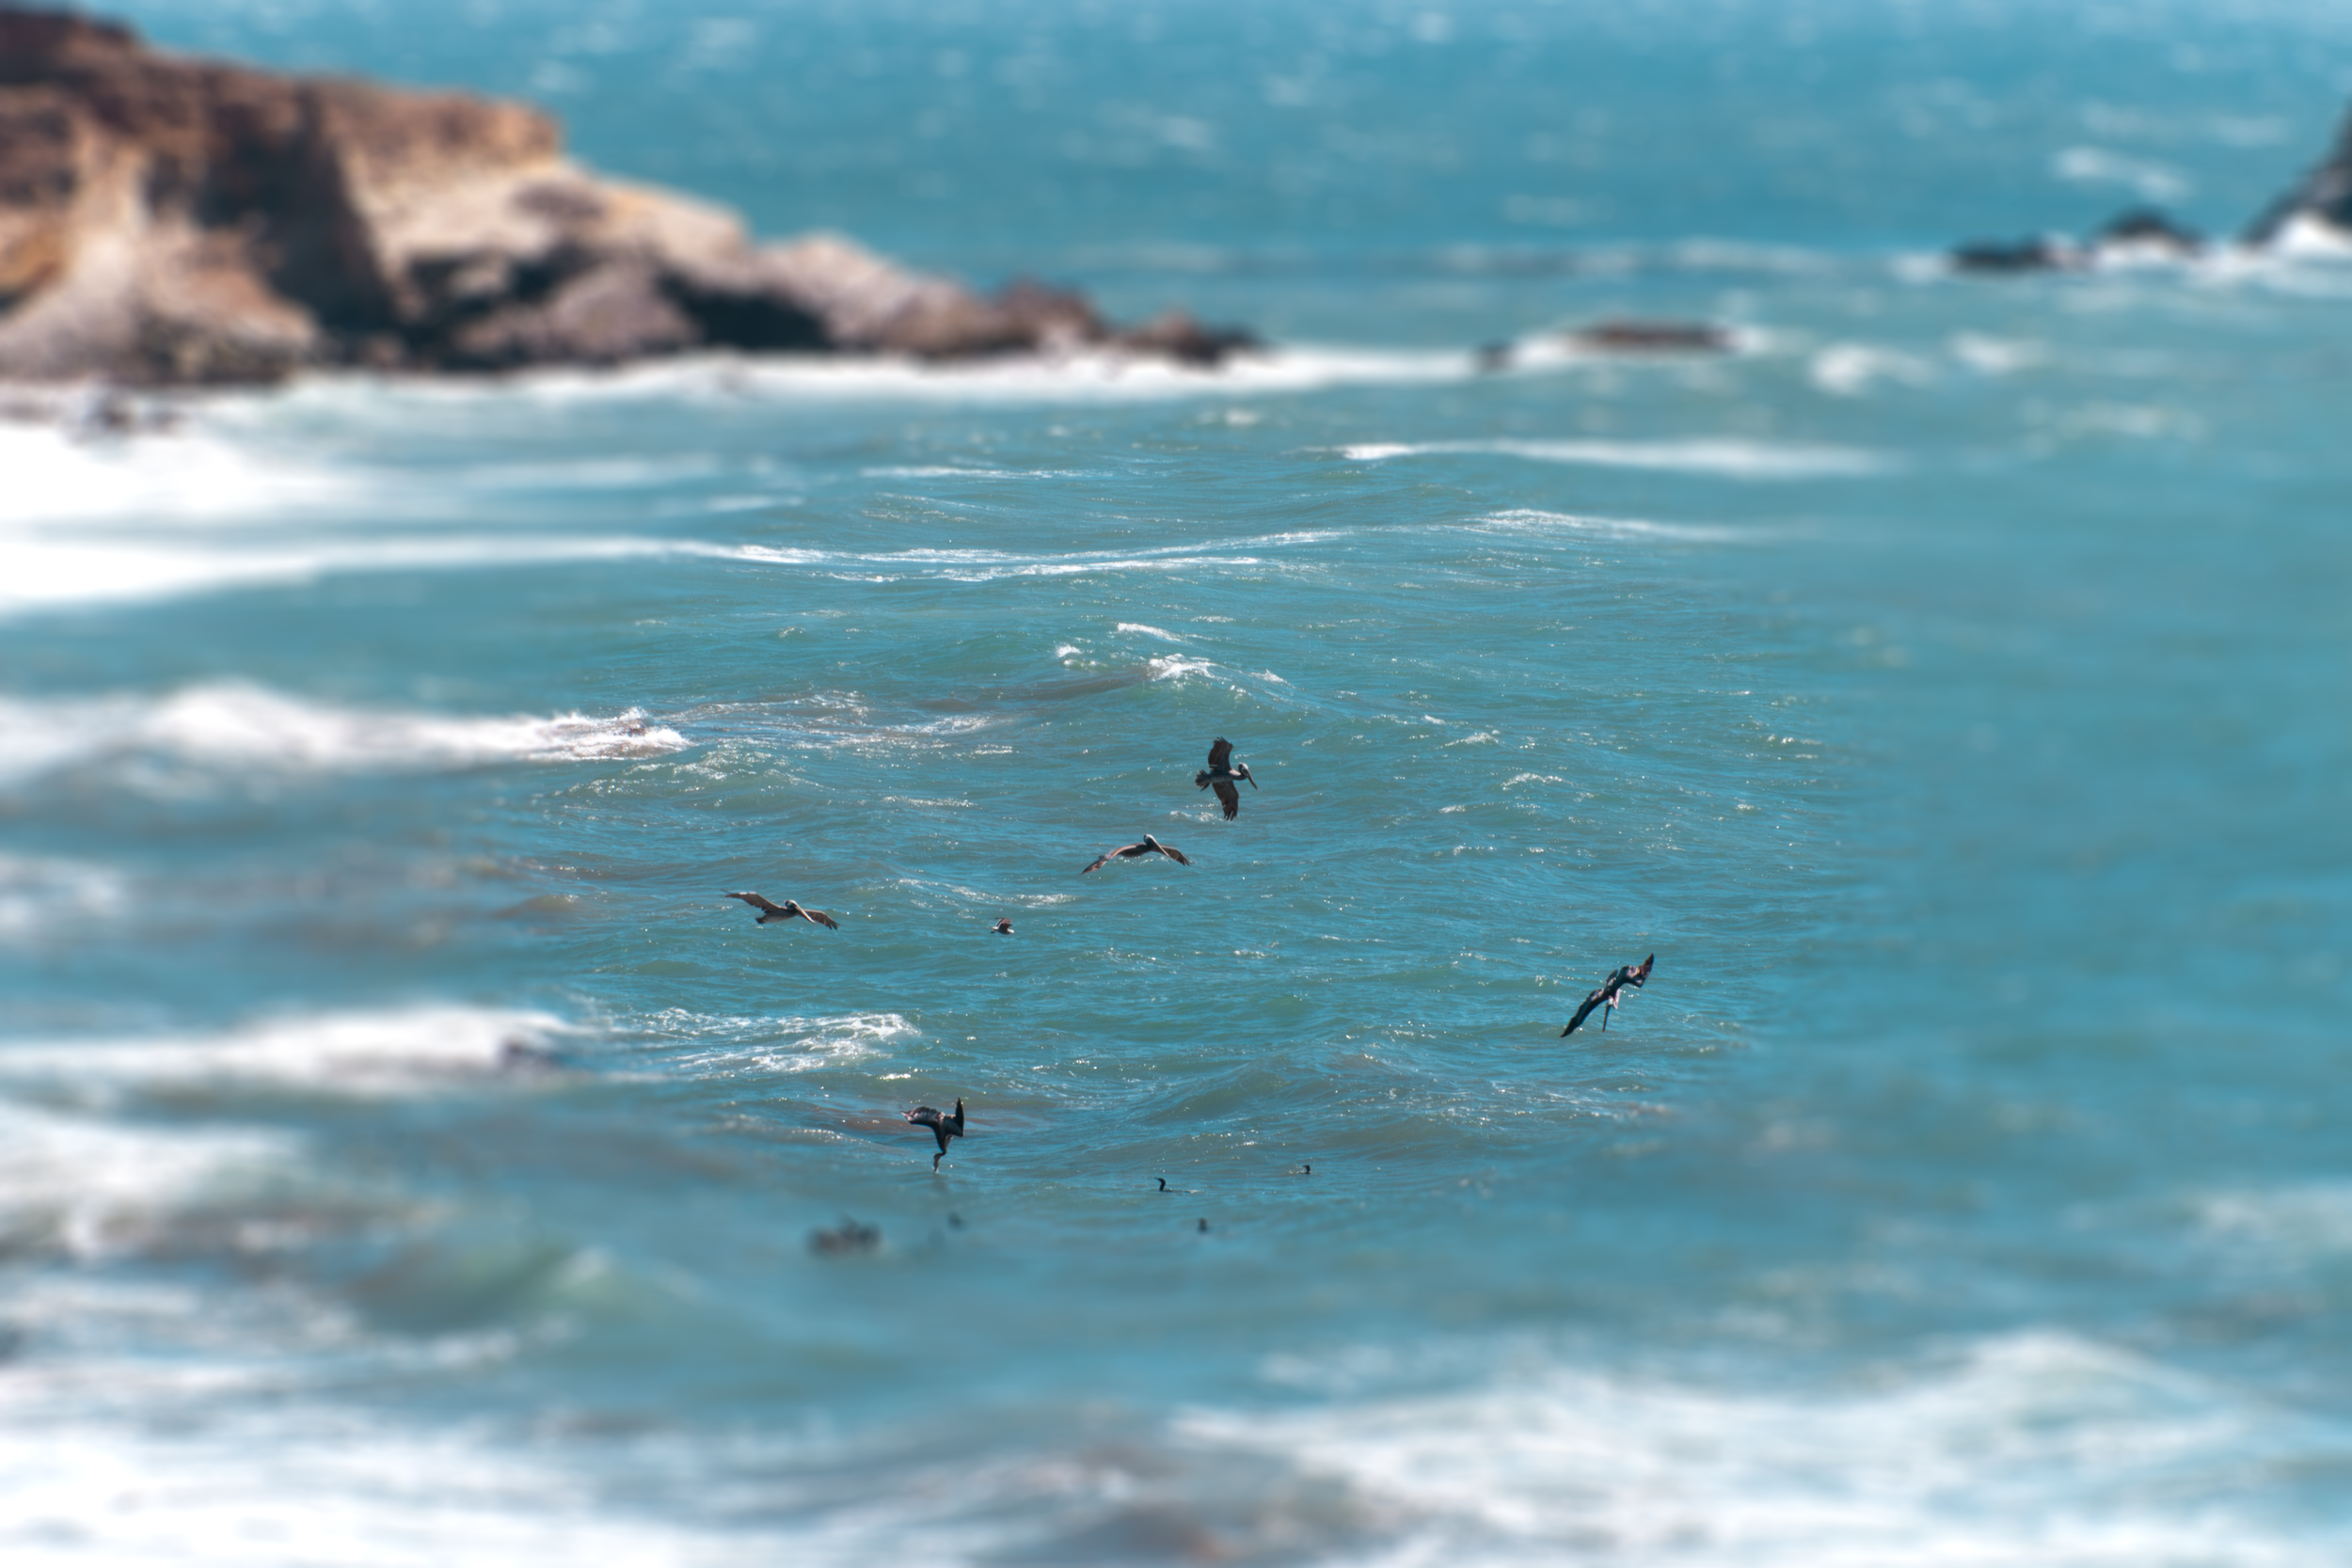
I used an iris blur to draw the eye to the pelicans. The eye goes to areas of high contrast so the pelicans were competing with the rocks.
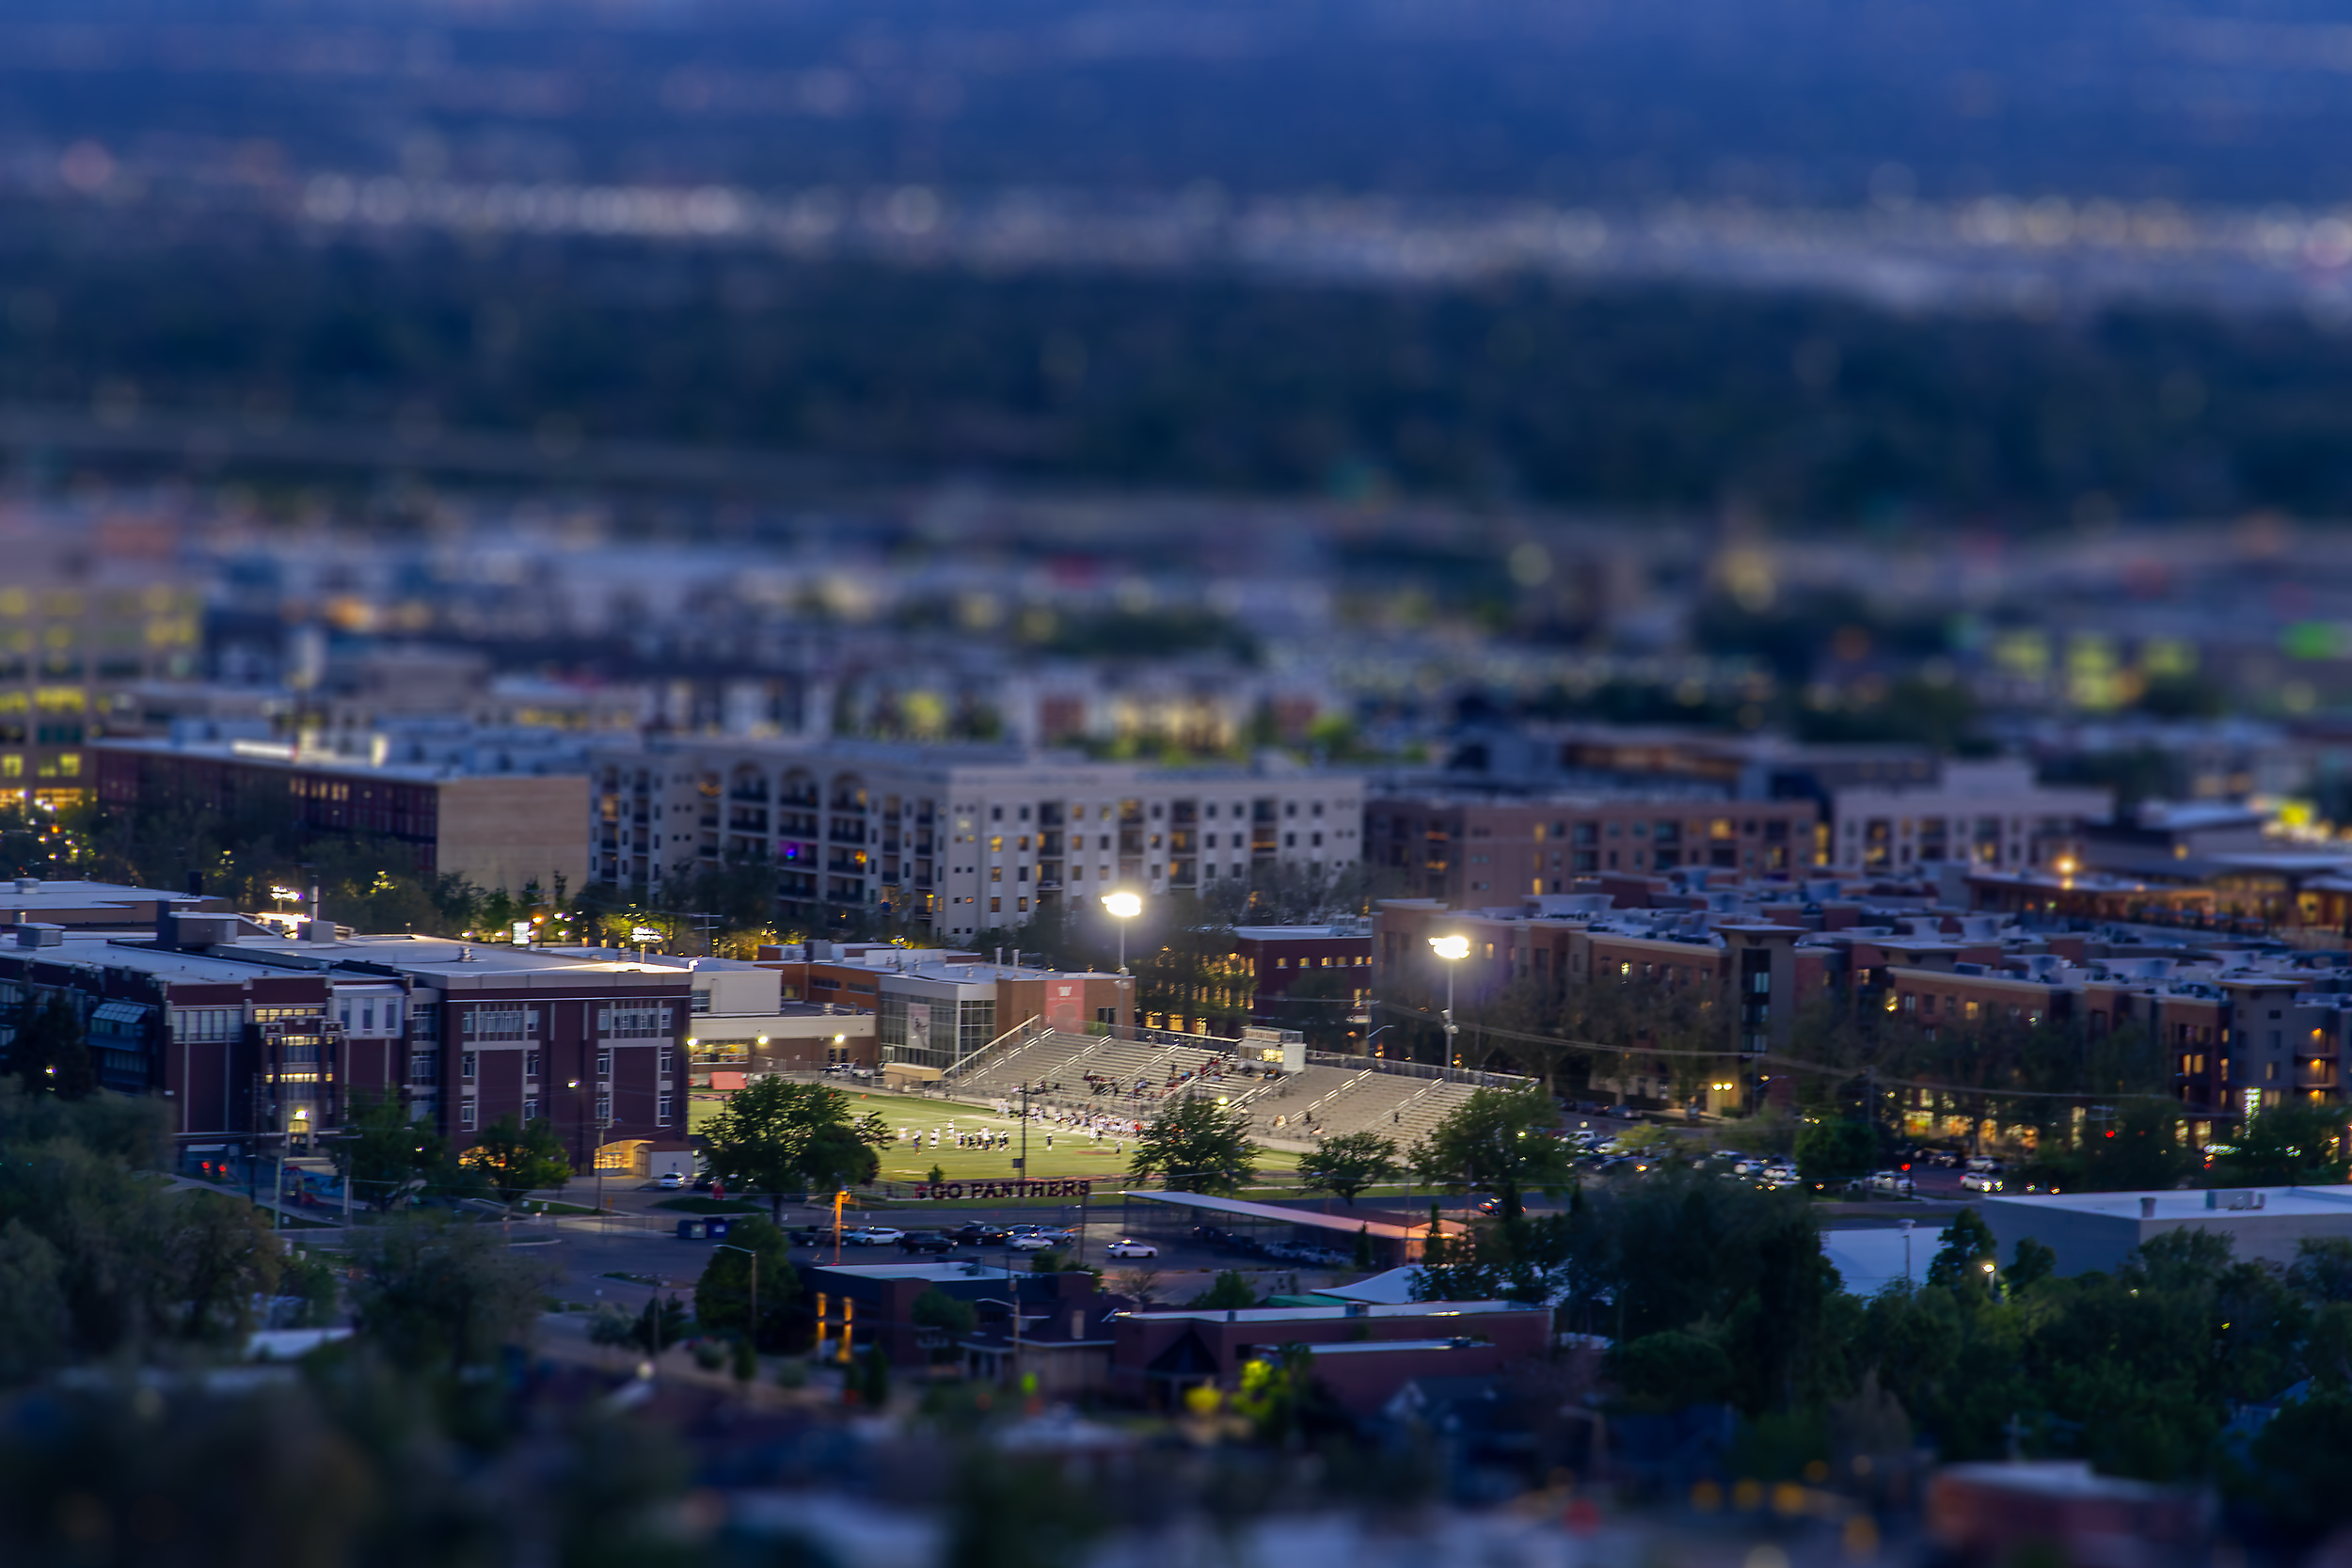
Apply a Tilt-Shift Filter
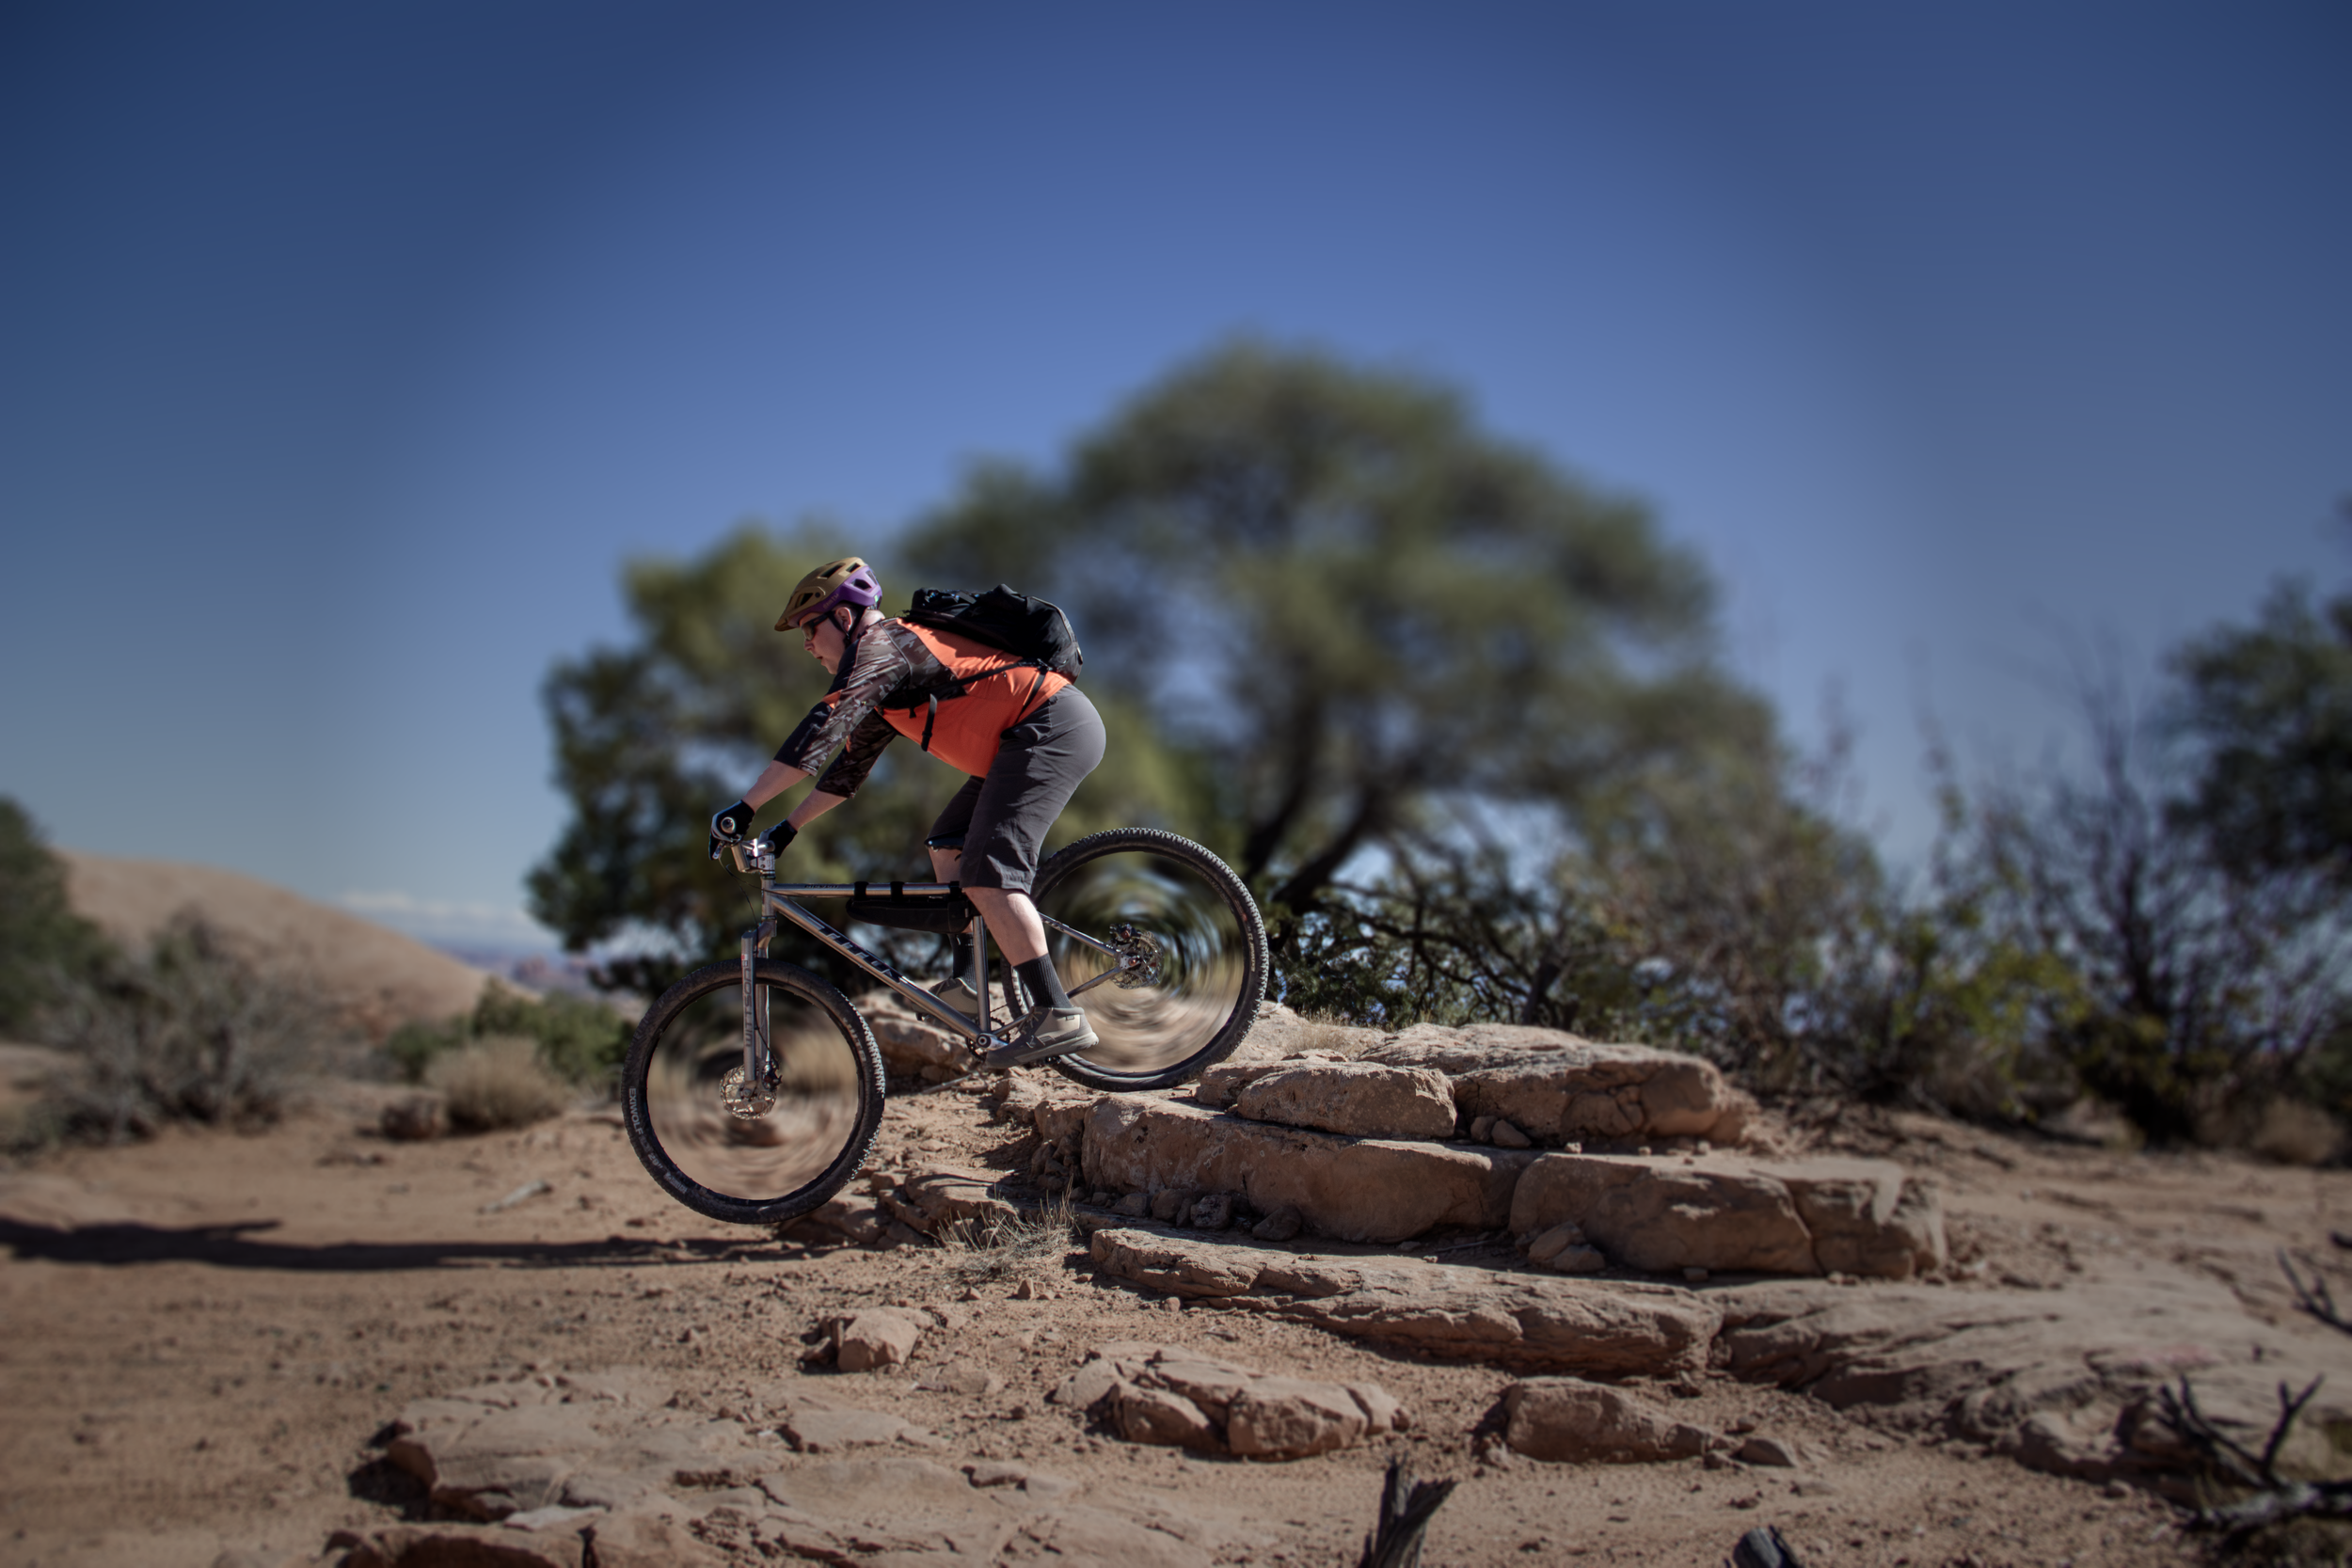
Make Wheels Spin
Lesson 18-Actions & Automation
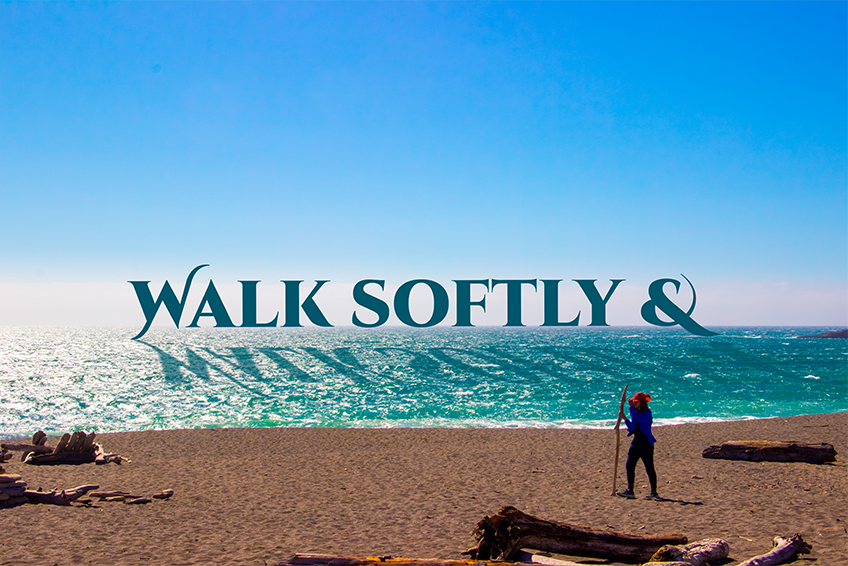
I used the enhance color and the water reflection on type action